Google Analytics has always been one of the most popular tools website owners have used to monitor their web traffic.
Setting up a new website in Google Analytics isn’t quite as straightforward as it should be. However, following the steps below, you should be able to have your website enabled with Google Analytics tracking in under 30 minutes.

**Set Up Your Google Analytics Property**
To set up your website on Google Analytics, you need to add the website in Google Analytics Administration. * First, log into Google Marketing Platform with your Google Account. From the dashboard, select Analytics.

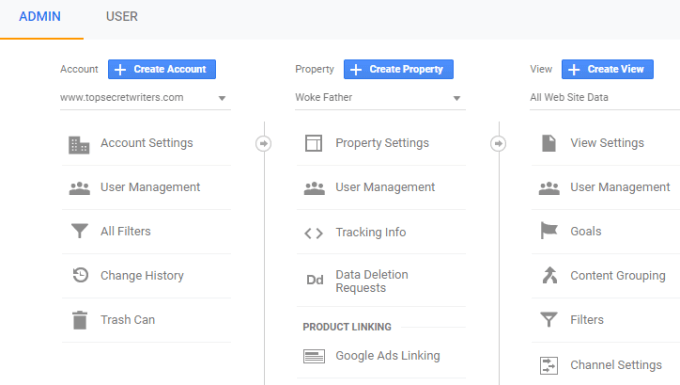
- Once Google Analytics is open, select Admin at the bottom of the left navigation menu.

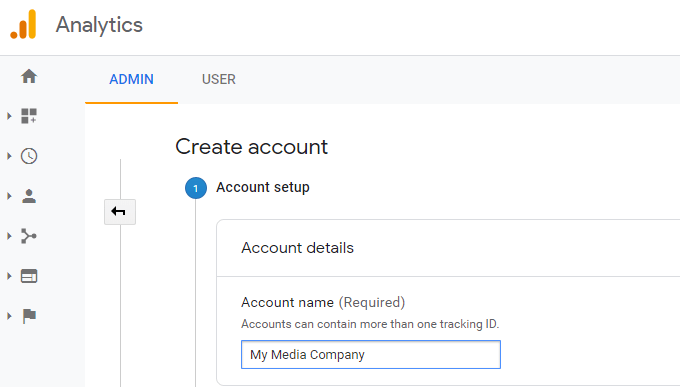
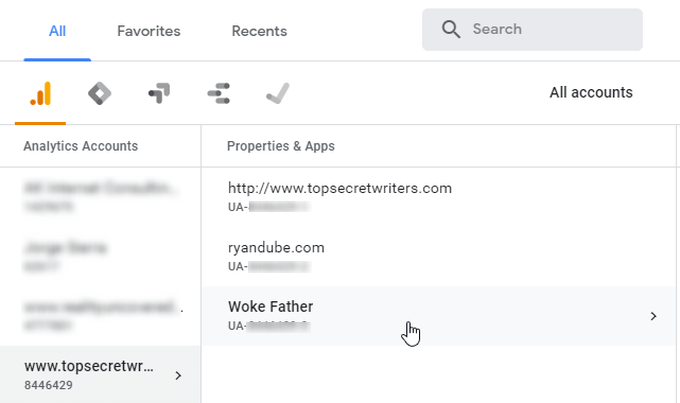
You’ll have a few options depending how many websites you hope to manage in Google Analytics. You’re only allowed up to 4 Google Analytics accounts, and each account is allowed up to 50 web properties, so keep that in mind when organizing your web properties.
- Once you’ve created the account, go back to Google Analytics administration, select the account you’ve created, and select Create Property.
- On the next screen, select Web under Create property.
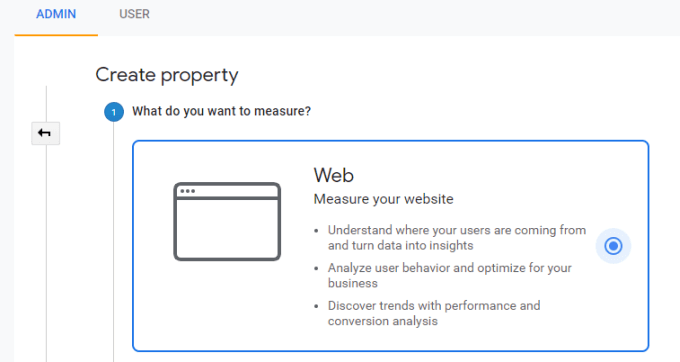
- Scroll down to the bottom of the page and select Continue.
- On the next screen, give your new website a name in the Website Name field, fill in the URL in the Website URL field, select the correct Industry Category, and finally set the Reporting Time Zone.

**Note**: Make sure to select “https” if you’ve enabled SSL on your website.
**Add The Google Analytics Tracking Code To Your Website**
Once Google Analytics successfully creates your new website property, you’ll see a Tracking ID that represents the code Analytics will use to log all traffic for your site.
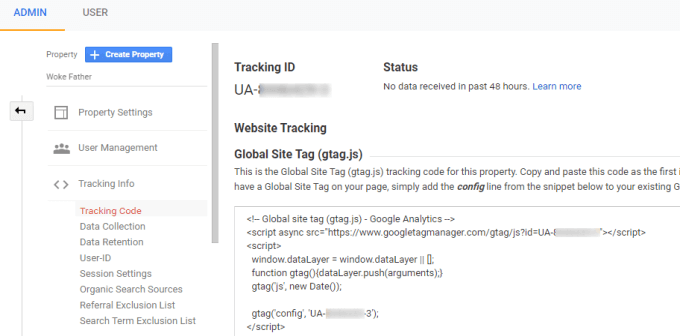
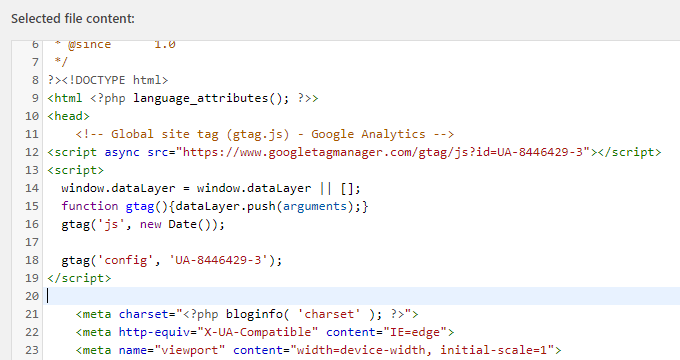
Ideally, you’ll want to insert this inside thetags of every page. Copy the script in this field and save it in Notepad or some other place where you won’t lose it.
If you’re using a WordPress website, adding this script is easy.
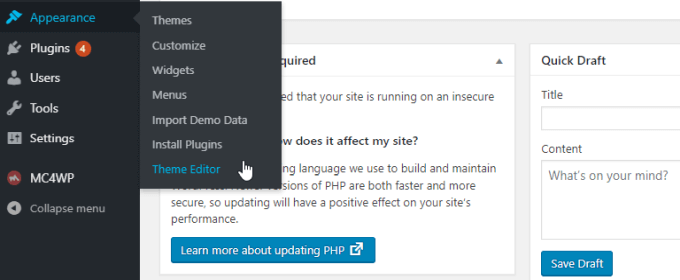
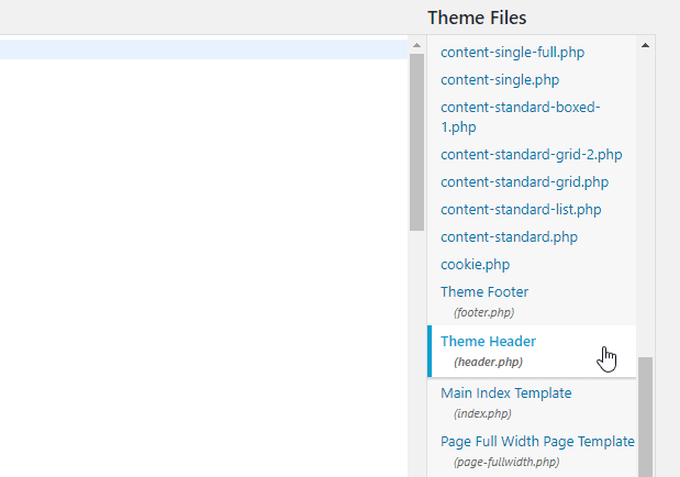
Typically, most WordPress themes include a Theme Header (**header.php**). In the Theme Editor window, select this from the list of theme files.
In the editor window, find thetag and insert the Google Analytics text after it.
If you aren’t using a WordPress site, you’ll just need to use a similar approach to make sure the Google Analytics script is included inside thetags on every page of your site.
Once you’re finished, you should now see your new website listed under the Analytics account that you’ve created.
**Advanced Analytics Features**
There are a few Google Analytics tracking features that aren’t enabled by default when you first install the tracking code. However, these features can provide much more insightful information about the visitors that arrive on your site.
- Select the property for the website you created and select Property Settings.
In the Property Settings window, if you scroll down you’ll see several options to consider. These are additional features you can enable.
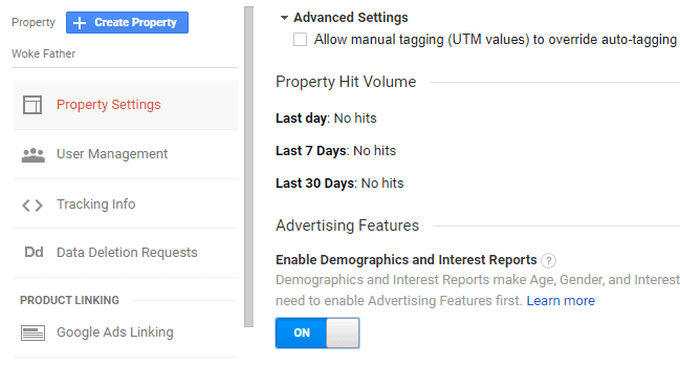
This enables additional reports in Analytics that tells you the age, gender, and interests of visitors who arrive on your site.
This information can be tremendously helpful in tailoring your site for the interests and demographics of the majority of your visitors.
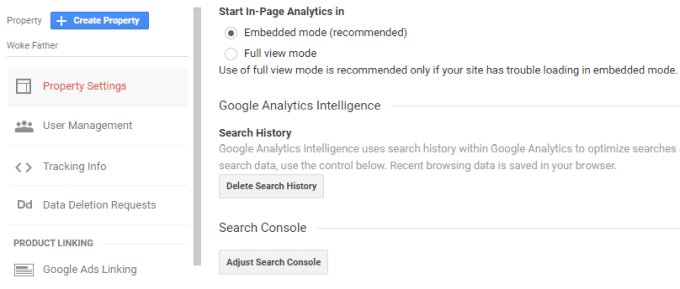
This is a quick way to make sure the Google Search Console data is linked to the Analytics account for the same property. You’ll be able to see Search Console data in your Google Analytics reports once you enable this.
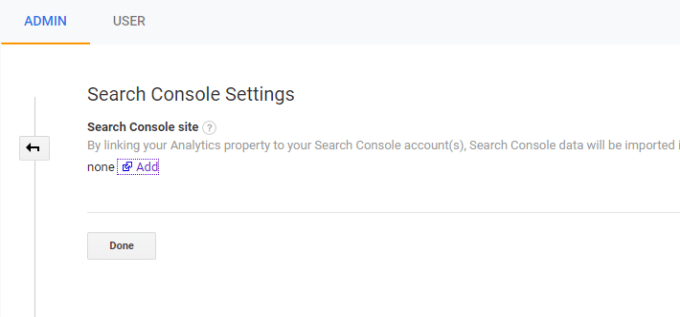
You’ll see a page with all of the websites enabled in your Search Console account that you can choose to link to the Analytics property you just created.
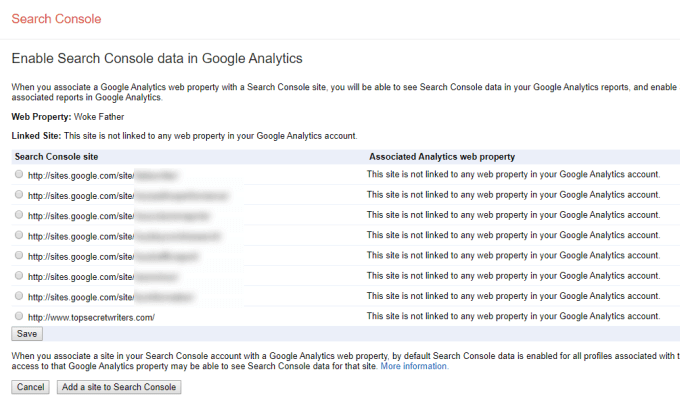
If you’ve just created your website and never added it to Google Search Console, you’ll need to do that before you can link it to Google Analytics.
- In the Google Search Console, just use the site dropdown list and scroll to the bottom to select Add property. Follow the instructions to set up the domain in Google Search Console.
- Once it’s verified, the next time you visit the same Google Analytics page above, you’ll see your new domain listed. You can then select it to link it to the Google Analytics account for that same website.
- The last feature you’ll want to enable in the Google Analytics Property Settings is at the bottom of the Property Settings page. Under User Analysis, you’ll see a setting for Enable Users Metric in Reporting.
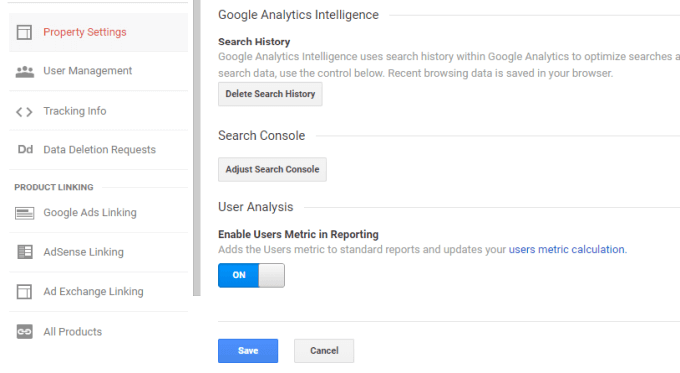
This is a new feature where Google uses first-party cookies on user browsers to get a more accurate picture of visitor count. This reduces the error rate and provides you with a much more accurate picture of how many users are actually visiting your site and what page they’re visiting.
Now you have Google Analytics enabled for your site and all of the advanced features enabled. Keep visiting the property page in Google Analytics for your site, and in a couple of days you’ll start seeing data flowing in with all of your website statistics.