Google integrated a screen recording tool into Chrome OS 89 primarily to foster virtual learning. If you take a lot of online classes on your Chromebook, or you teach students online, the tool lets you record lessons, reports, and presentations for reference purposes.
However, screen recording isn’t limited to academics only; there are other interesting use cases. You can also record YouTube videos, sports broadcasts, games, and other entertainment content or activities. Proceed to the next section to learn how to screen record on a Chromebook.
How to Record Your Chromebook’s Screen
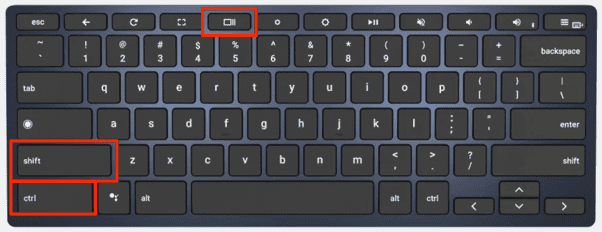
Press and hold Control + Shift + Overview mode (or Show windows key) to launch the Chrome OS snipping tool.
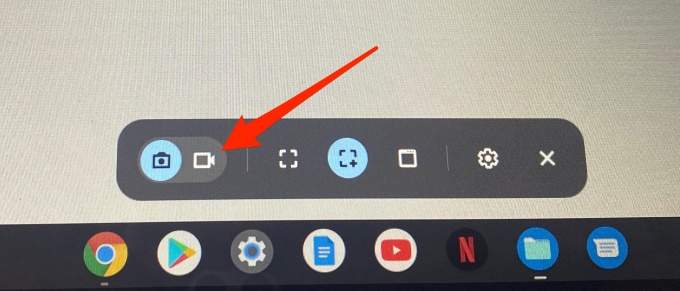
The snipping tool will pop up at the bottom of your screen, just right above the Shelf. Tap the camcorder icon to navigate to the Screen Record menu.
This is perfect for recording a video playing on a website (like YouTube) without having to record the entire web page.
Note: You cannot move the selected area during recording. To record another portion of the screen, cancel the ongoing recording and map out a new recording area.
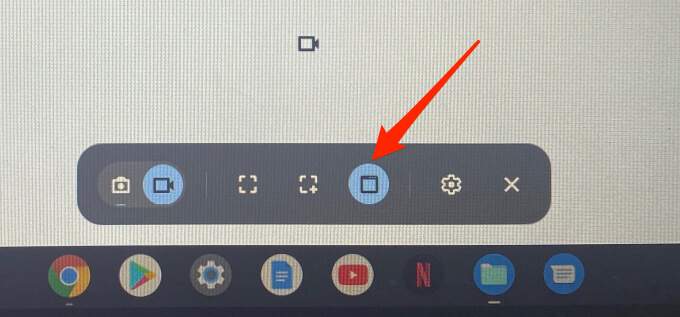
The “Record window” option lets you record the content of a particular app or window. If you’re using two apps in split-screen mode on your Chromebook, this option lets you record the content of one app without closing the other.
The snipping tool will save the settings, so you don’t have to manually enable the microphone on subsequent recordings. To record without audio, repeat the steps above and toggle off the Record microphone option.
Recording your screen with the microphone enabled will capture audio from the media playing on your Chromebook. The microphone will also pick up background sound from the environment. Therefore, if you’re screen recording with audio on your Chromebook, make sure to do so in a quiet room with minimal ambient noise.
Better yet, use an external noise-canceling microphone, if you have one. That may help filter out background noise and ultimately enhance the sound quality of the recording.
How to Stop Screen Recording on Chromebook
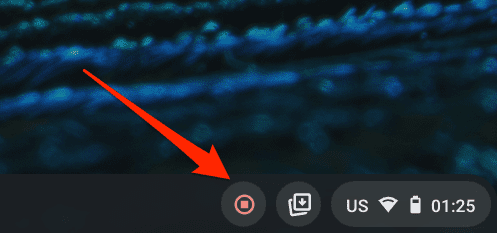
When the screen recording commences, you should see a red-colored stop icon close to the Status area—the bottom-right corner of the screen. Clicking the icon will immediately stop the recording and save the file.
You’ll also get a notification in the Status Area. Click Show in folder to view the recording in the Files app. Chrome OS saves screenshots and screen recordings in the Downloads folder.