Windows Terminal is Microsoft’s combined replacement for the command line and Windows PowerShell, letting you run more powerful administrative commands and tools on Windows than you’d otherwise able to use from a graphical user interface.
Rather than switch from one tool to another, the new Windows Terminal brings these tools together. You can run Windows bash scripts, connect to Azure virtual machines, and open a Windows Subsystem for Linux terminal—all within a single window.
**Installing The New Windows Terminal**
The new Windows Terminal app is still in active development. Rather than test it internally, Microsoft has made a “preview” release available as a download in the Microsoft Store.
It brings support for tabbed windows, improved text display, and advanced configuration, letting you customize individual user profiles for your various apps. It’s also open-source, meaning you can poke around and contribute to the project yourself.
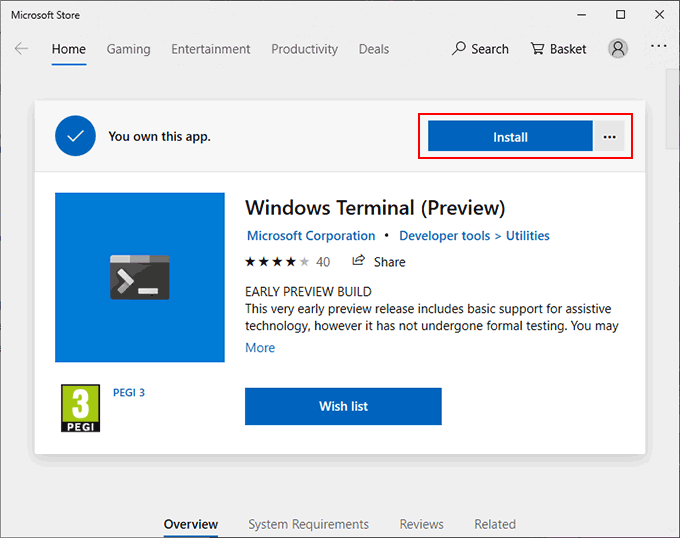
You can also download and compile the latest release yourself from the Github repository. For the best chance of stability, however, it’s best to use Microsoft’s pre-built version. It’s still in testing, so you may still experience some bugs during use. * To start, head to the Windows Terminal (Preview) listing on the Microsoft Store website, then click Get. If you’re using Chrome, allow it to open the Microsoft Store by clicking the Open Microsoft Store button in the pop-up dialog box. Alternatively, search for Windows Terminal in the Microsoft Store app directly.

- Follow the same instructions as above in the Microsoft Store app. Click Get to link the app to your Microsoft account, then Install to begin the installation.
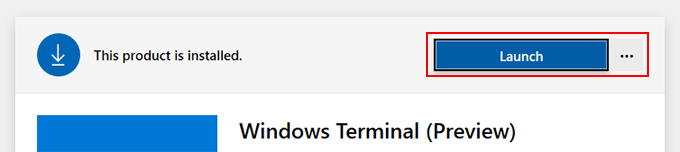
- Once installed, click Launch, or access it from your Windows Start menu.
**Using The New Windows Terminal**
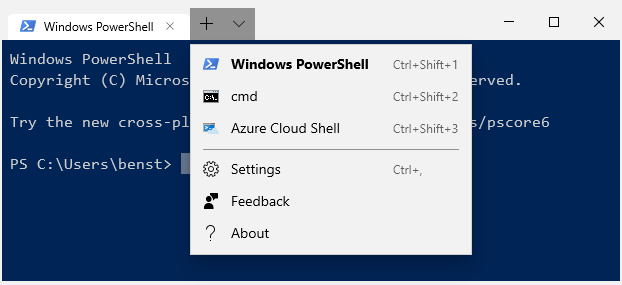
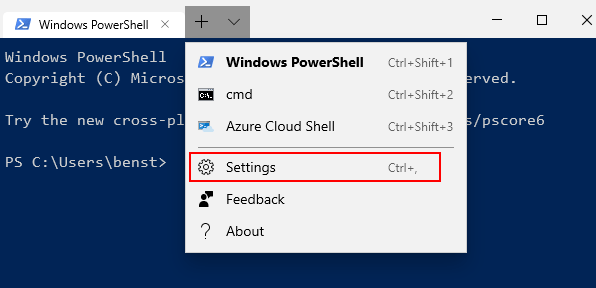
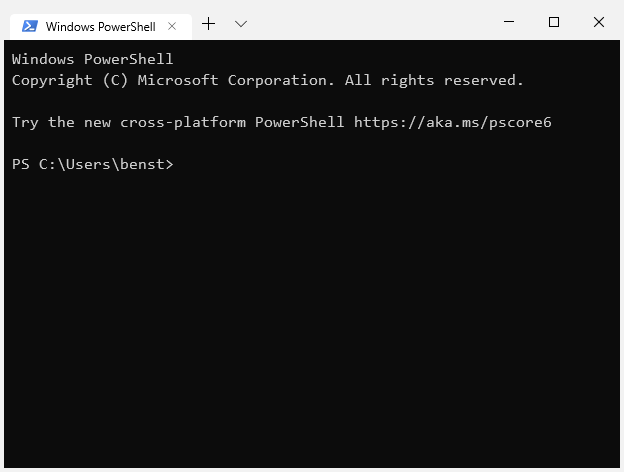
The interface to the New Windows Terminal app is incredibly simple. By default, it’ll look a lot like a typical Windows PowerShell window.
That’s because, by default, the first tab it opens will be a PowerShell terminal. You can use Windows PowerShell to perform system administration tasks, with the added advantage that you can open multiple PowerShell tabs in a single window.
This is the real benefit of New Windows Terminal, allowing you to switch between different apps and terminal shells within the same window. You can open an old-school command line in a second Windows Terminal tab, as well as an Azure Cloud Shell to remotely manage your Microsoft Azure virtual machines.
If you have a Windows Subsystem for Linux distributions installed, these will be displayed, too, giving you easy access to a Linux terminal in Windows.
**Preparing To Configure Windows Terminal**
The new Windows Terminal is extremely customizable. You can change its appearance, including modifying the background, text color and font. Microsoft also includes pre-set themes for you to switch to, but you can create your own using the JSON configuration file.
You can create custom settings for each of the types of terminals and apps that the Windows Terminal supports.
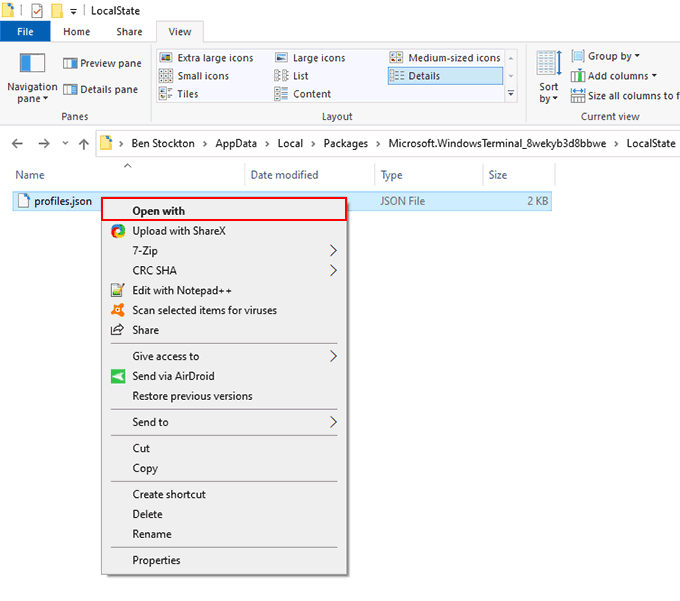
With Notepad++ installed, you’ll need to configure Windows to open JSON files using it.
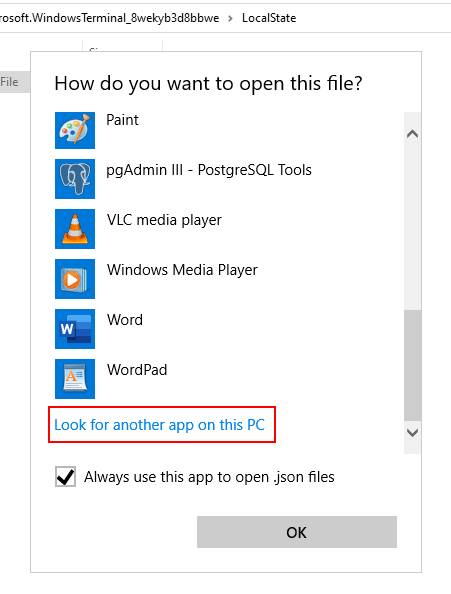
- In the app selection menu, click More apps, then click Look for another app on this PC.
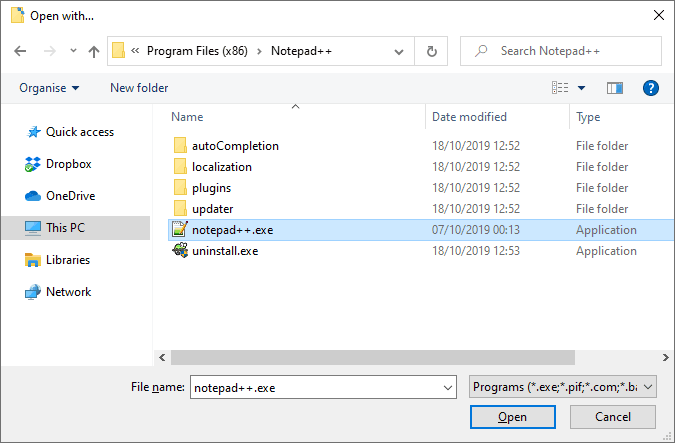
- In the app selection dialog box, head to the default installation location for Notepad++. For most users, this can be found at C:Program Files (x86)Notepad++. Select **Notepad++.exe **then click Open.
After this, the **profiles.json** configuration file will always open in Notepad++. You can begin customizing your Windows Terminal experience from here.
**The Windows Terminal Configuration File**
JSON files are a little complicated, but the profiles.json file is pretty easy to work through. With Notepad++ now configured to automatically open JSON files, you can access your settings file within Windows Terminal at any point.
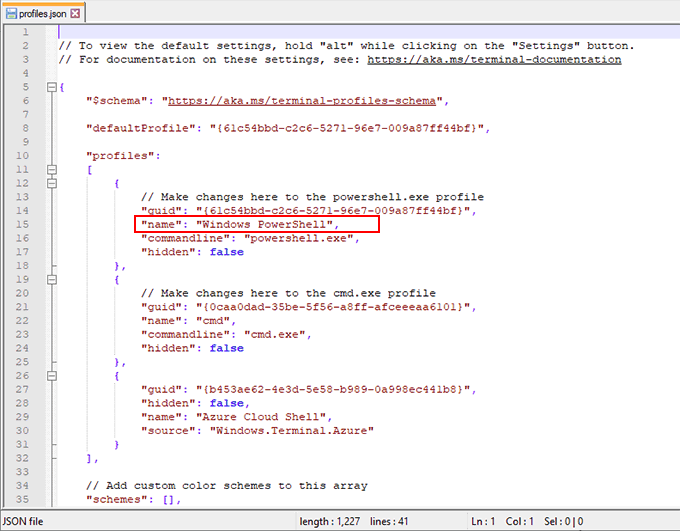
The JSON file has separate “profiles” sections that allow you to edit the profiles for each type of app and terminal shell. If you wanted to change how Windows Terminal looks in a PowerShell app,for instance, look for the PowerShell section. Use the **“name”** or **“commandline”** lines to find each profile.
**Adding Custom Windows Terminal Backgrounds**
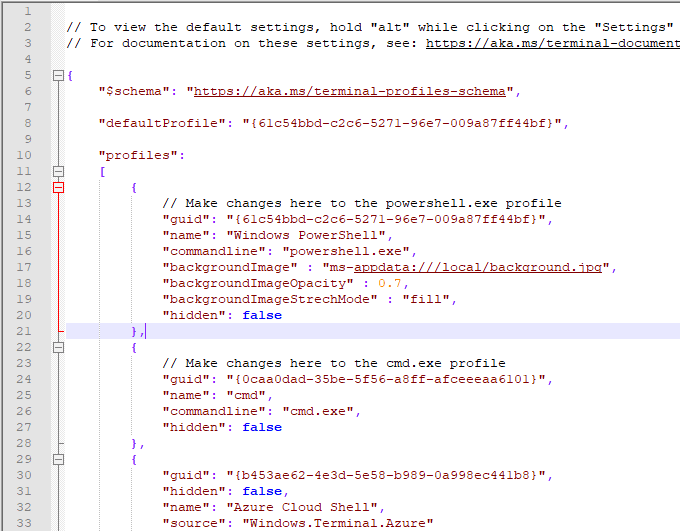
If you want to add a custom background, copy a suitable PNG, JPEG or GIF file to your settings folder first.
“backgroundImageOpacity” : 0.7,
“backgroundImageStrechMode” : “fill”,
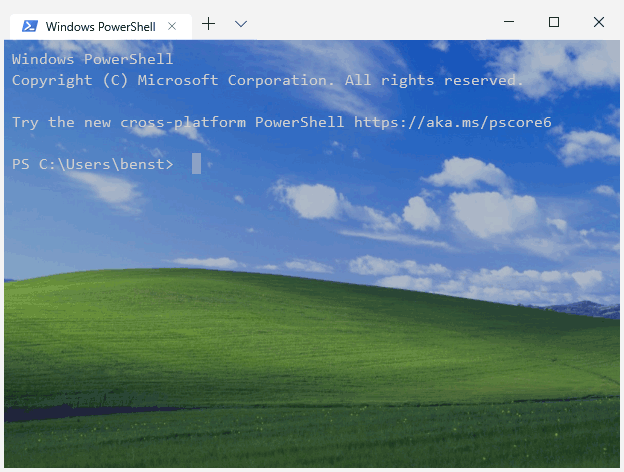
- Once saved, your Windows Terminal background will immediately change to match the background image you’ve specified.
**Changing The New Windows Terminal Color Scheme**
To allow you to quickly change your new Windows Terminal color scheme, you can use one of five default themes. The method for changing this is similar to the method listed above to change your background.
**“colorScheme” : “Campbell”,**
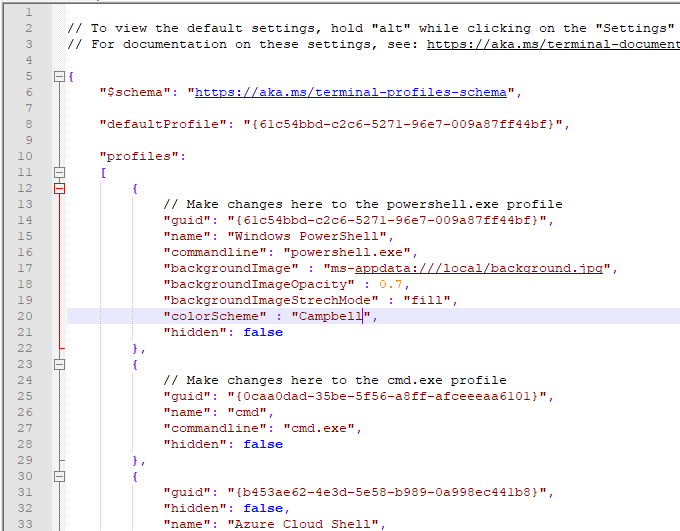
This will change your color scheme for your chosen app profile to the “Campbell” color scheme, a scheme originating from Microsoft Console Colortool. You can change this to “One Half Dark”, “One Half Light”, “Solarized Dark” or “Solarized Light” as an alternative.
For more information on the Windows Terminal configuration file, take a look at the documentation file available at the Github repository.