If your system update fails to install, Windows 11/10 may display the error “We Couldn’t Complete the Updates.” There are many reasons an update fails to install, some of which are not directly related to the updates.
Regardless, you can fix this update issue yourself by applying a few basic fixes to your system. These fixes resolve the underlying problems that cause your updates to fail, and you can then successfully update your PC to the latest version of Windows 11/10.
If your PC doesn’t boot in normal mode, boot the PC in safe mode to perform the following procedures.
**Run the Windows Update Troubleshooter**
Windows 11/10 comes loaded with several troubleshooters, and you can use these to find and fix various issues on your system. One of these is Windows Update troubleshooter, and this is what you can use to potentially resolve the “We Couldn’t Complete the Updates” error.
- * Launch the **Settings **app by pressing **Windows **+ I keys at the same time.
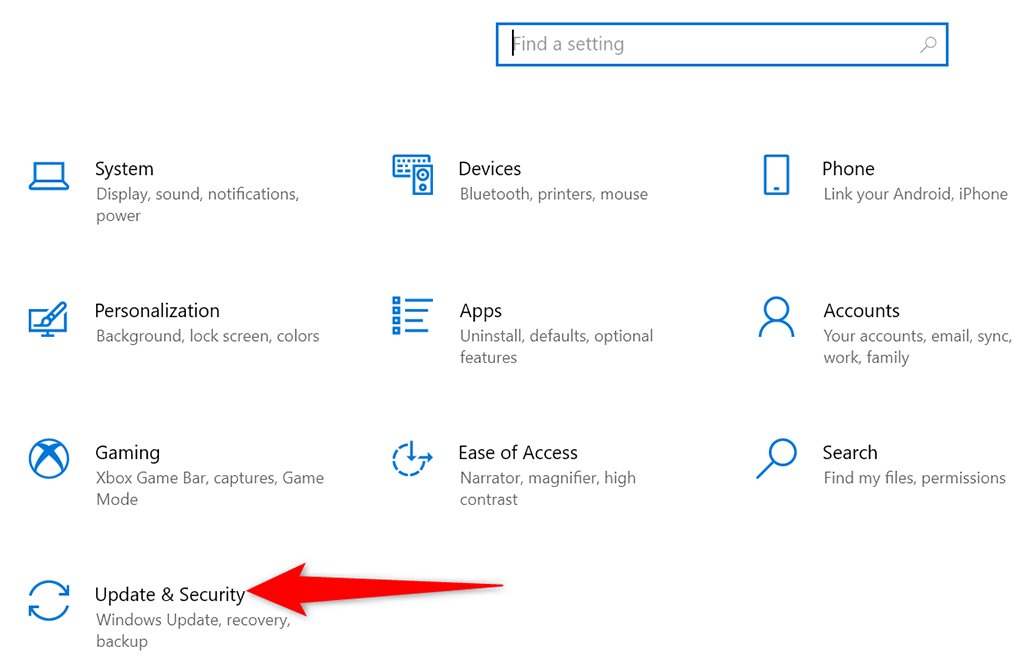
- On the Settings window, select Update & Security.
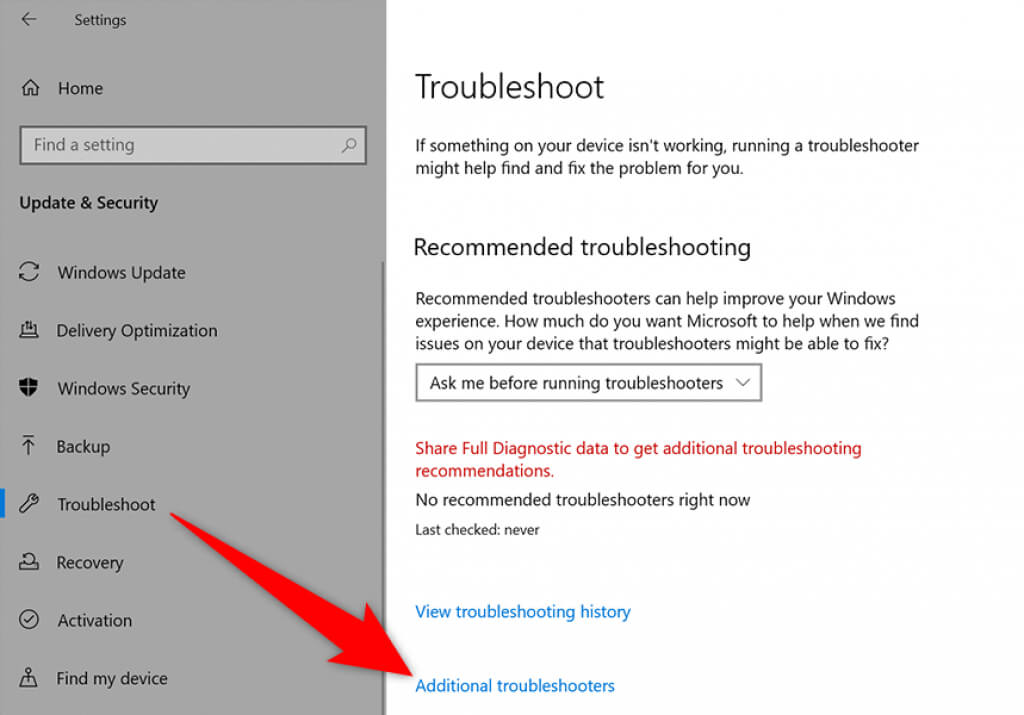
- Choose **Troubleshoot** from the sidebar on the left. * In the pane on the right, select **Additional troubleshooters**.
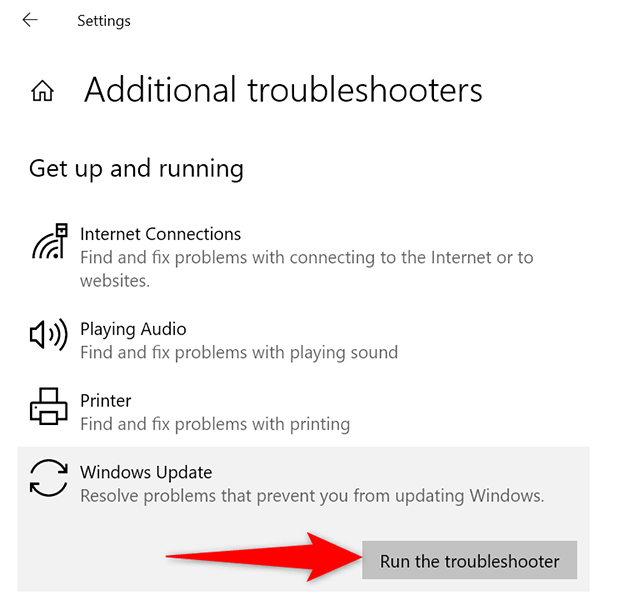
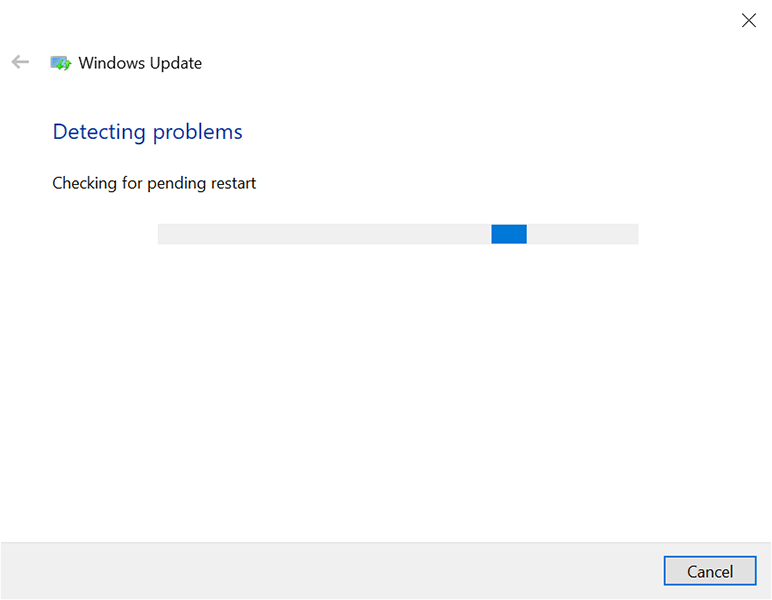
- Select **Windows Update** on the following screen. * Choose **Run the troubleshooter**.
- Wait for the troubleshooter to detect issues with your updates, and then offer help to fix those issues.
**Restart the Windows Update Service**
Windows 11/10 runs many services in the background to keep your PC’s features functional. One of these services is for Windows updates. It’s worth toggling this service off and then on to see if that resolves your problem.
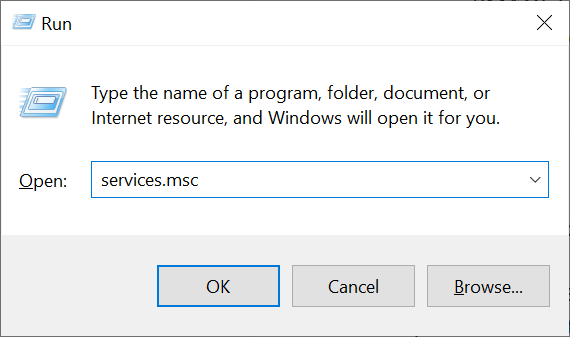
- Open the **Run **box by pressing **Windows **+ R keys at the same time.
- Type services.msc in the Run box and press Enter.
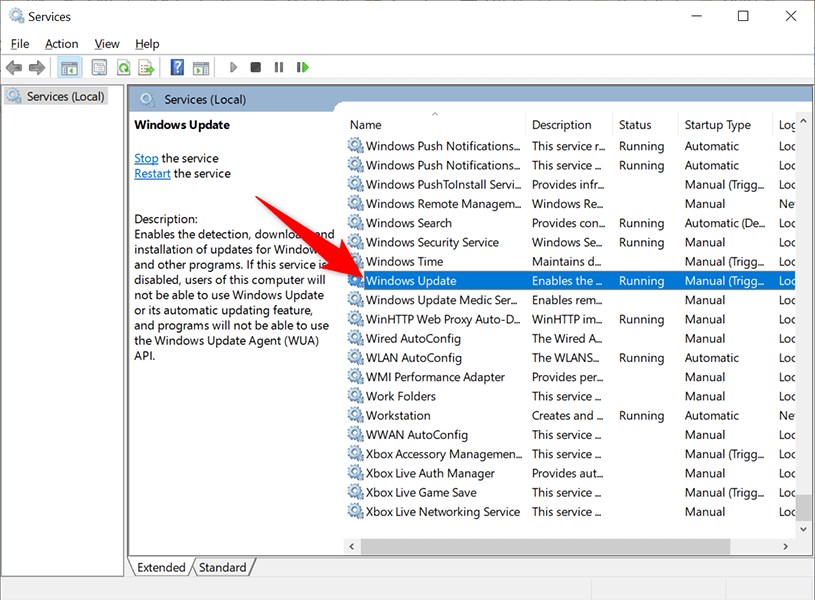
- On the **Services **window that opens, find and double-click the **Windows Update** service.
- Select **Stop **in the service’s **Properties **window.
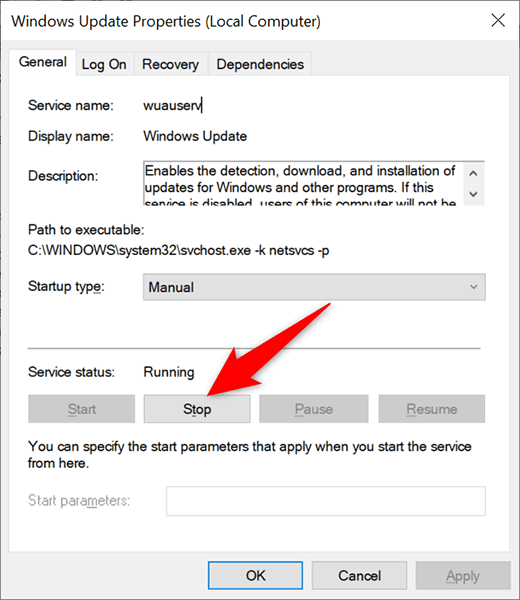
- Once the service has stopped, select the **Start **button to restart the service.
**Delete Files and Folders in the SoftwareDistribution Folder**
Windows 11/10 stores the downloaded system updates in a folder called SoftwareDistribution. When you experience any issues with your updates, it’s a good idea to clear the contents of this folder.
Then, allow Windows to check for and install the available updates on your PC.
Stop Windows Update Services
Before you delete the contents of the SoftwareDistribution folder, you’ll need to stop two services related to Windows updates.
- Open the **Start **menu, search for Command Prompt, and select Run as administrator on the right.
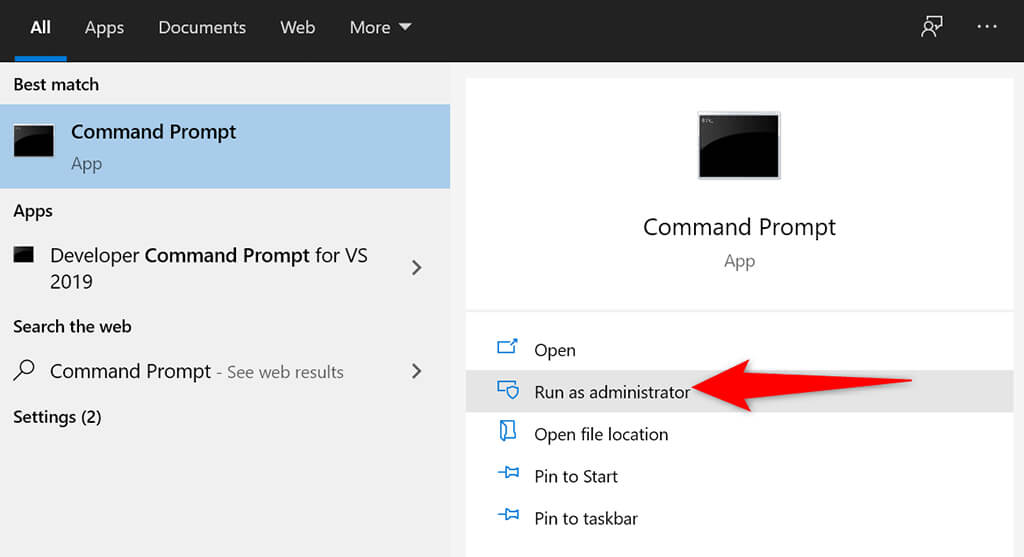
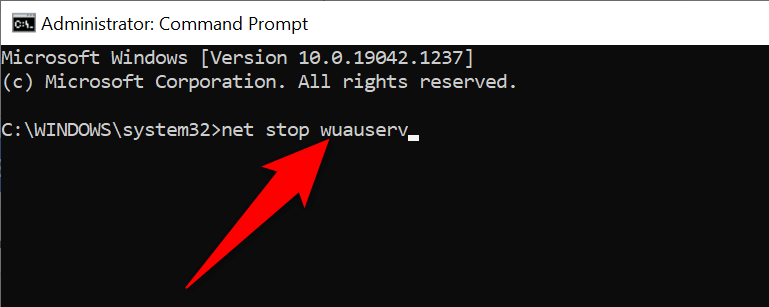
- Select **Yes **in the **User Account Control** prompt. * On the Command Prompt window, type the following command and press **Enter**: *net stop wuauserv*
- Then, enter the following command and press **Enter**: *net stop bits*
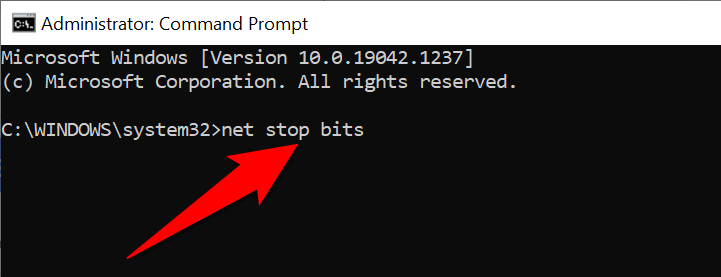
- Close the Command Prompt window.
**Delete the Items in the SoftwareDistribution Folder**
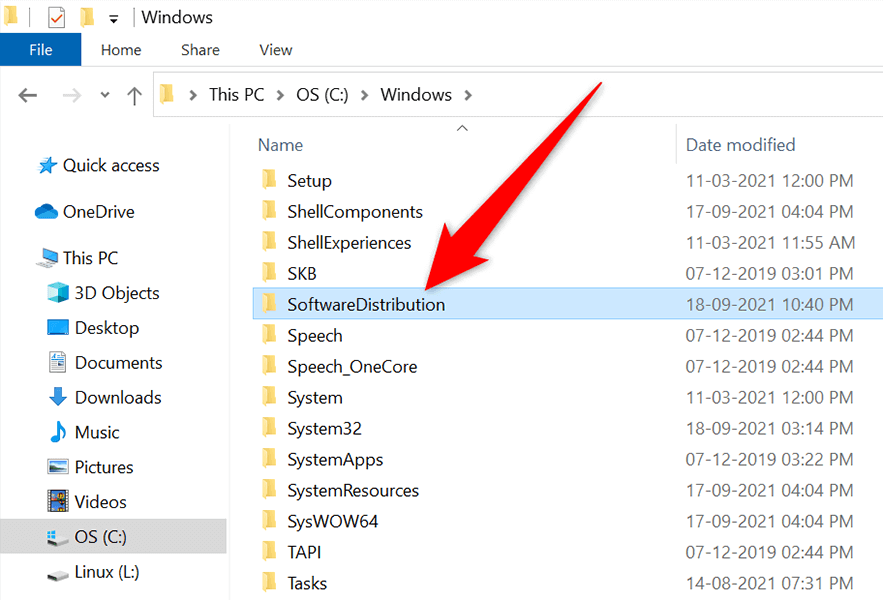
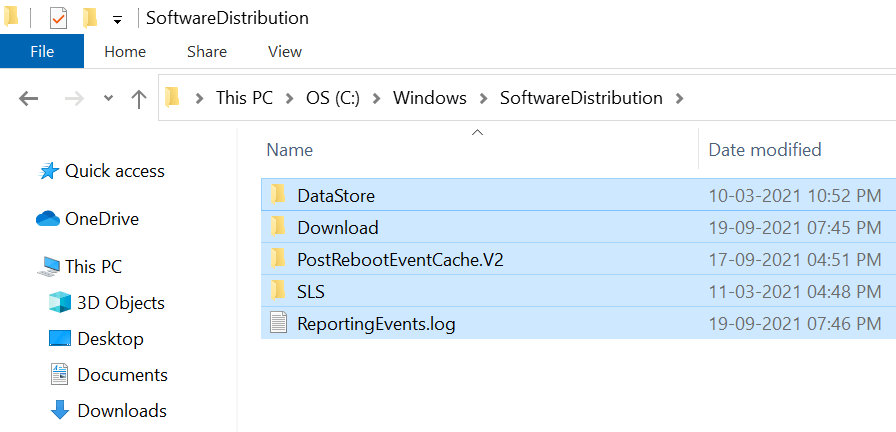
- Press **Windows **+ **E** to open a File Explorer window. * Open the drive where you’ve installed Windows. This is usually the **C** drive. * Navigate to the **Windows** > **SoftwareDistribution **folder.
- Press **Ctrl **+ **A** on your keyboard to select all files in the folder.
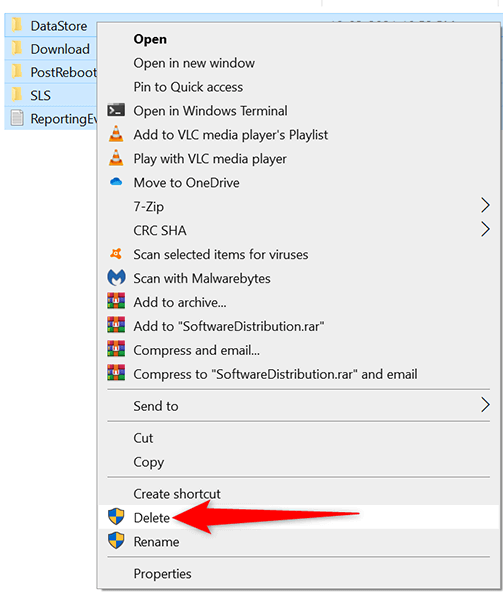
- Right-click any one file and choose **Delete**.
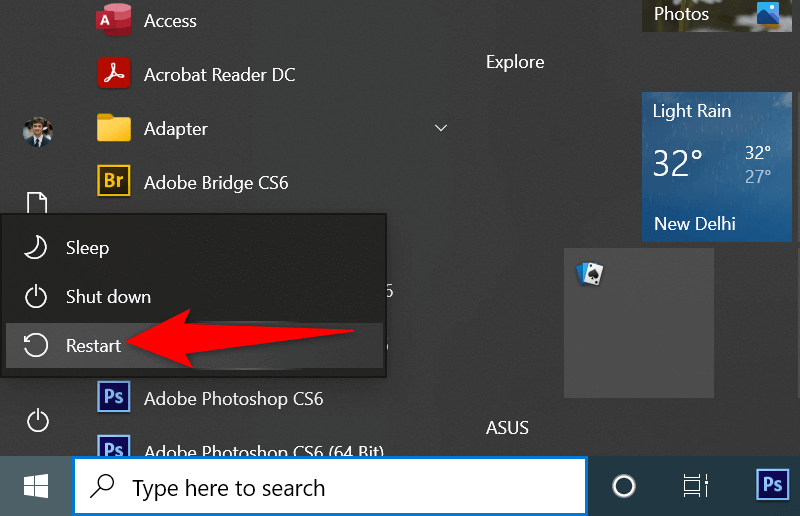
- Restart your PC. Do this by opening the **Start **menu, selecting the **Power **icon, and choosing **Restart**.
**Uninstall Recently Installed Windows 11/10 Updates**
It’s possible the recent update you installed on your PC was buggy and is causing issues with further updates. In this case, you can remove that problematic update from your PC and see if your “We Couldn’t Complete the Updates, Undoing Changes” issue is resolved.
- Press the **Windows **+ **I **keys simultaneously to open the **Settings **app.
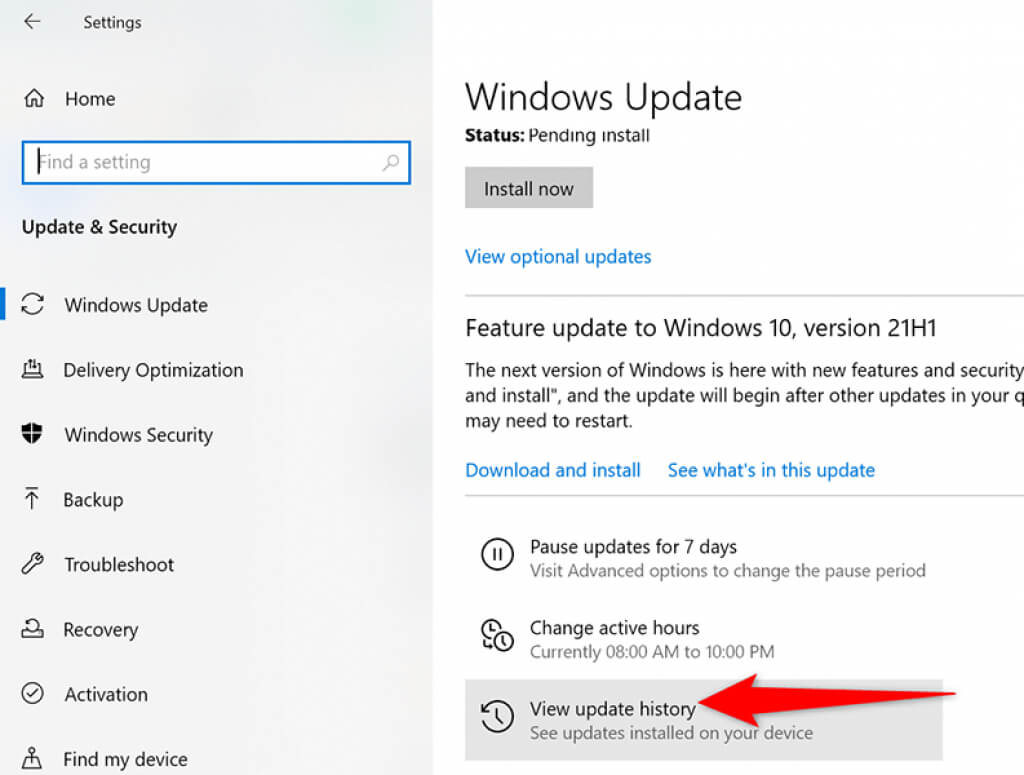
- Select Update & Security in Settings.
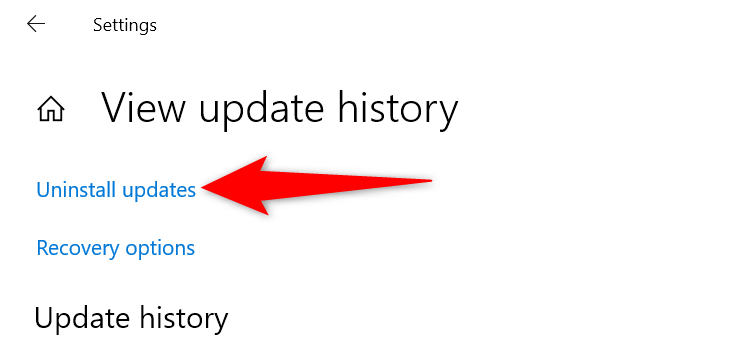
- On the right pane, select View update history.
- Select **Uninstall updates** at the top.
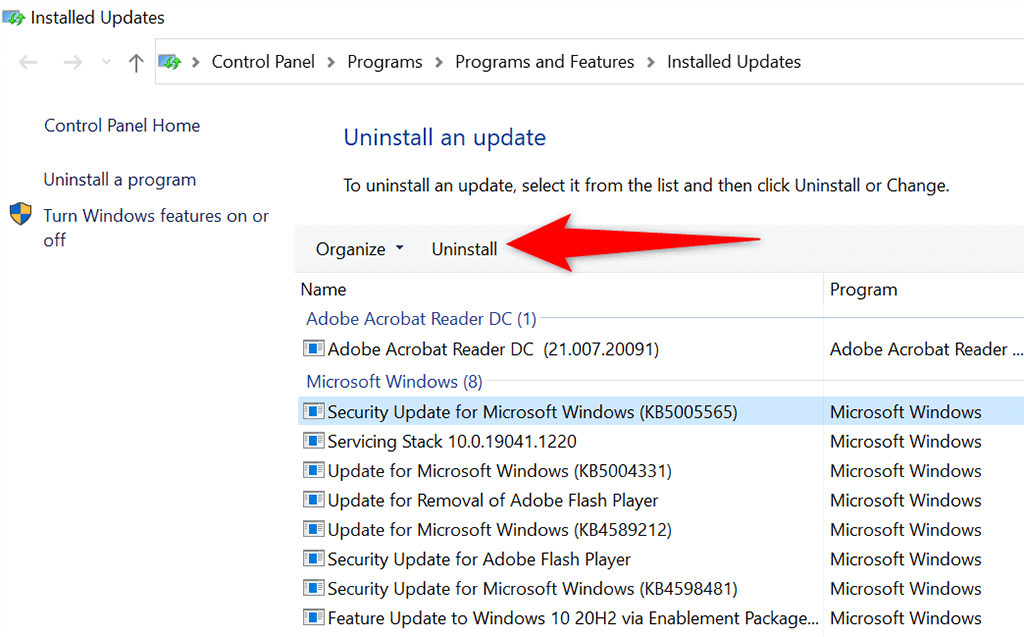
- From the updates list on your screen, find the most recent update and select that update. * Select the **Uninstall **option at the top.
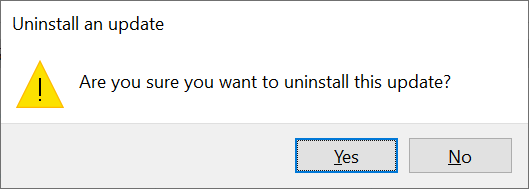
- Choose **Yes **in the prompt that opens on your screen.
**Restore Your PC With System Restore**
With System Restore, you can roll back your PC to a specific time in the past. This allows you to fix various issues on your PC, including any update problems.
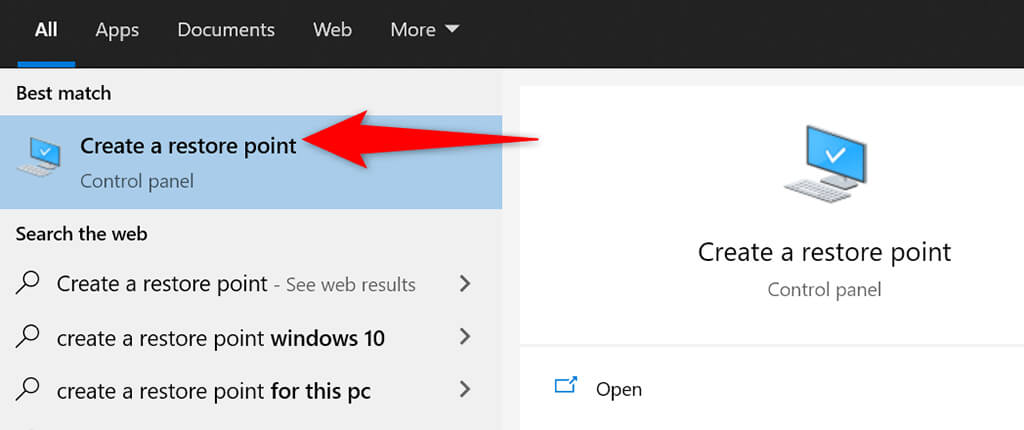
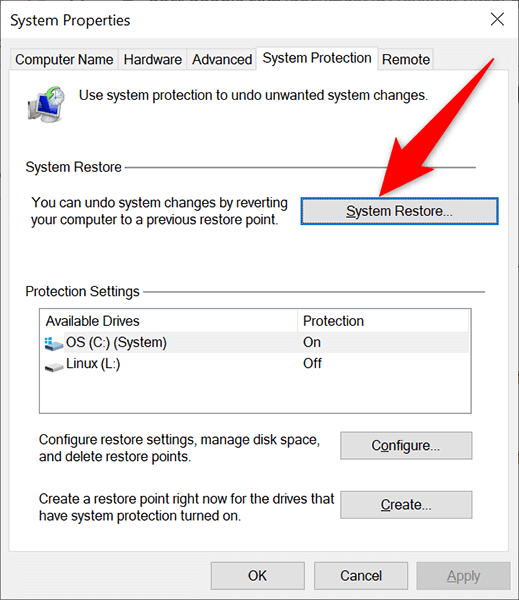
- Open the **Start **menu, search for Create a restore point, and select that in the search results.
- Select **System Restore** on the **System Properties** window.
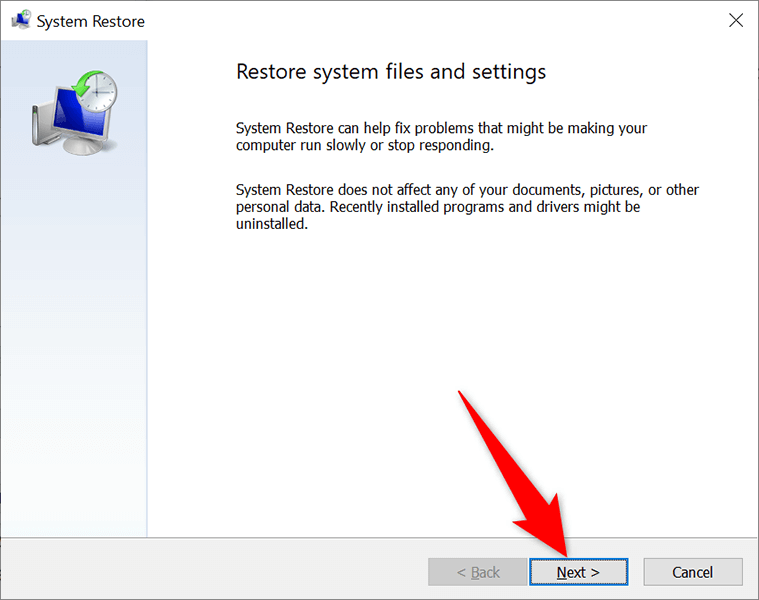
- Select **Next **on System Restore’s first window.
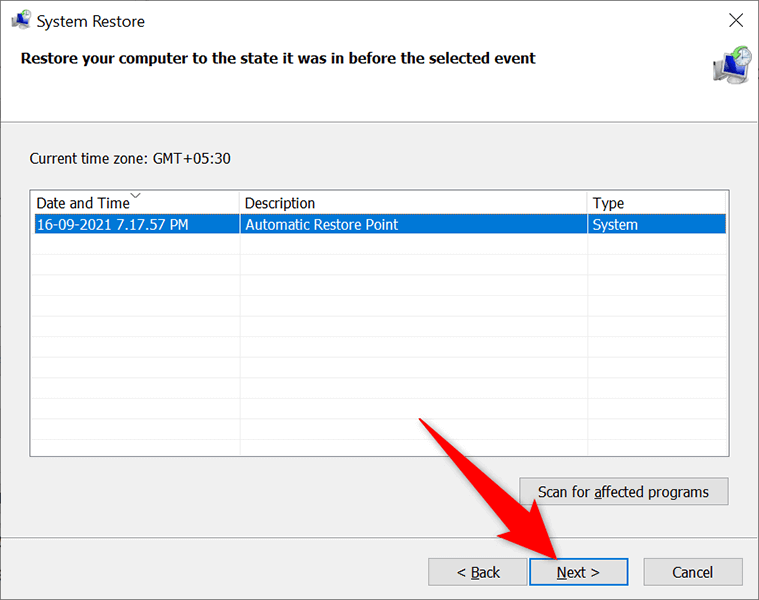
- From the available restore points, choose the most recent point. Then, select **Next **at the bottom.
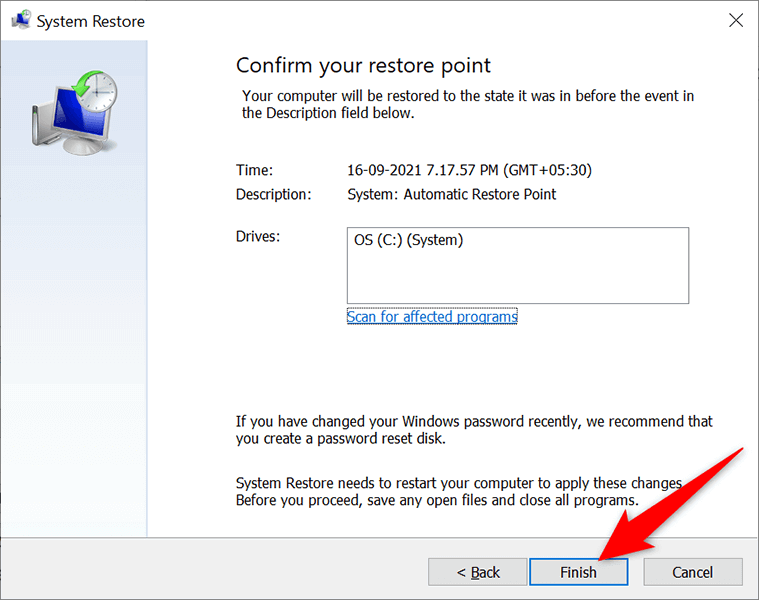
- Finally, select **Finish **to start restoring your PC to the selected restore point.
**Reinstall Drivers With Device Manager**
Sometimes, a hardware device connected to your PC can cause issues with your updates. You can find and reinstall these devices from Device Manager, which should most likely fix your update problems.
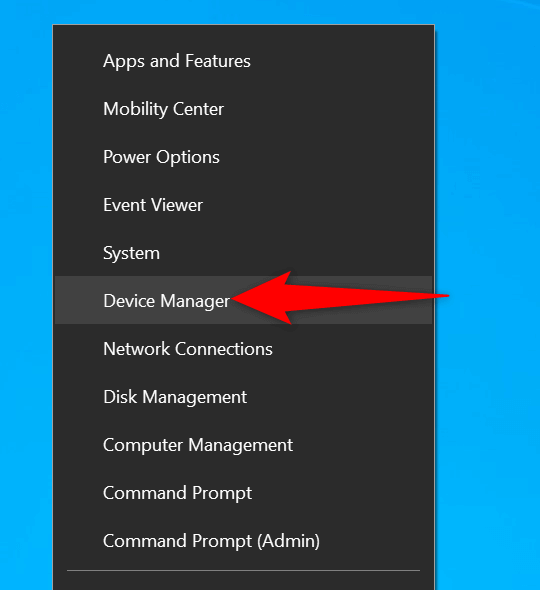
- Right-click the **Start **menu and select Device Manager.
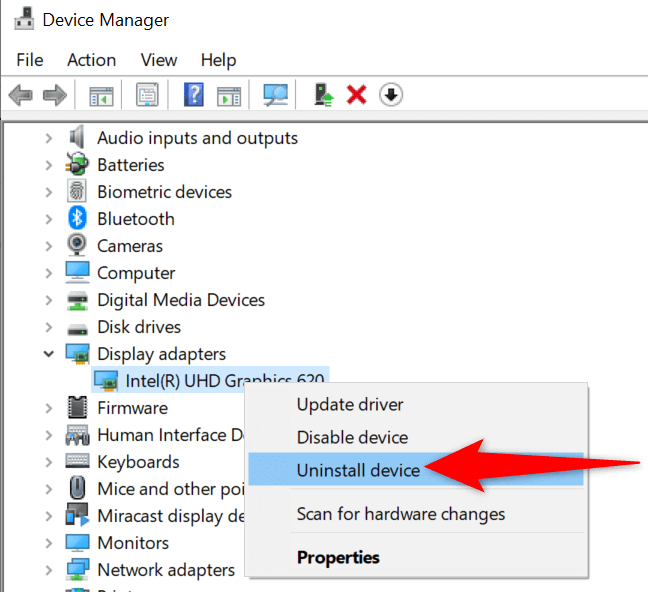
- The hardware devices with an issue will appear with an exclamation mark in Device Manager. * Right-click the problematic device and choose **Uninstall device** from the menu.
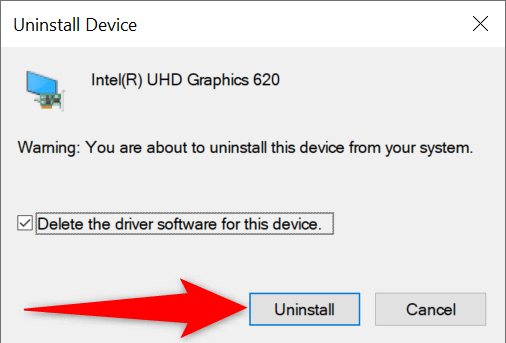
- Enable the **Delete the driver software for this device** option and select **Uninstall**.
- When the device is removed, restart your PC. * Your PC will automatically install the correct drivers for your connected device.
**Free Up Disk Space on Your Windows 11/10 PC**
Last but not least, you should have enough disk space on your PC to store new Windows updates. If you’re low on disk space, consider removing unwanted files from your storage.
While there are many ways to free up disk space in Windows, you can use Disk Cleanup for a quick start.
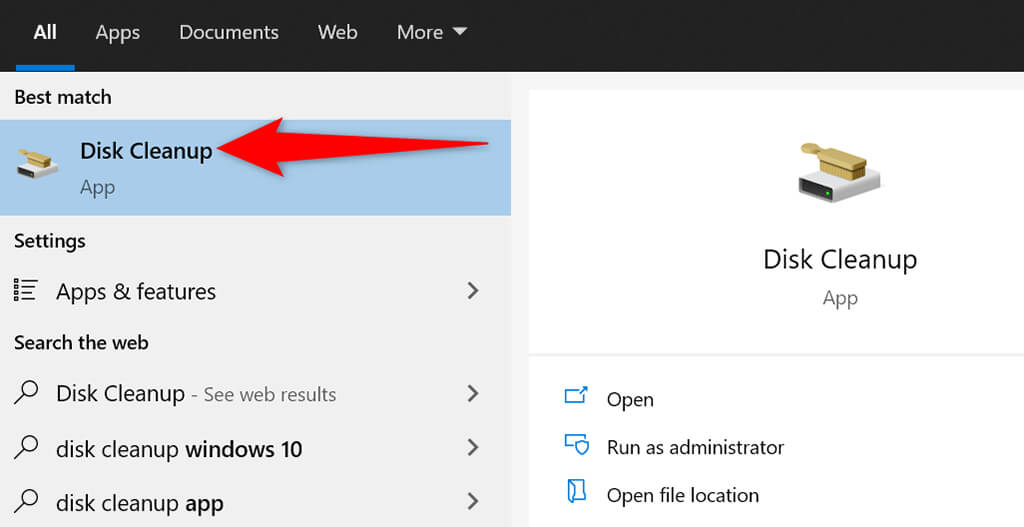
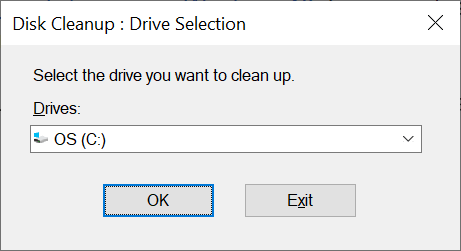
- Launch the **Start **menu, search for Disk Cleanup, and select that app in the search results.
- Select your Windows installation drive and then select **OK**.
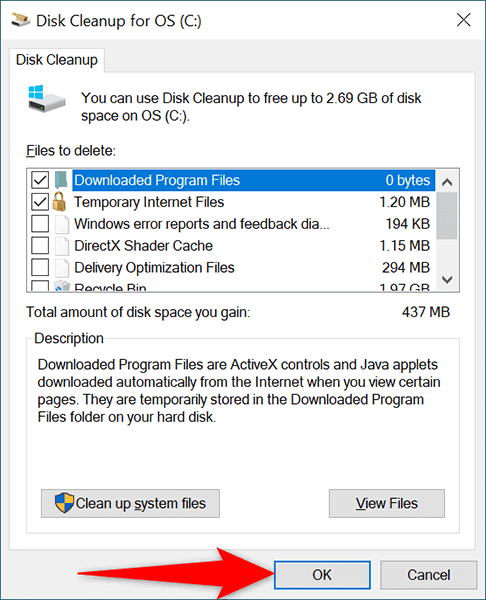
- Wait for the tool to find how much disk space you can free up on the selected drive.
- On the **Disk Cleanup** window, tick the items that you’d like for Windows to remove. Then, select **OK **at the bottom.
- Choose **Delete Files** in the prompt that opens.
- When your files are removed, reboot your PC.
And the “We Couldn’t Complete the Updates” error on your PC should now be fixed. You should be able to go straight to your desktop once you’ve logged in to your account in Windows 11/10.