You’ve found an old hard drive from another computer and desperately want to know what’s on it. It can be fun to take a trip down memory lane and find old data that you’ve completely forgotten about, but getting old drives to work with new Windows 10 computers can be tricky.
In this article you’ll learn how to access files on an old hard drive with your Windows 10 PC.
What Type of Drive Is It?
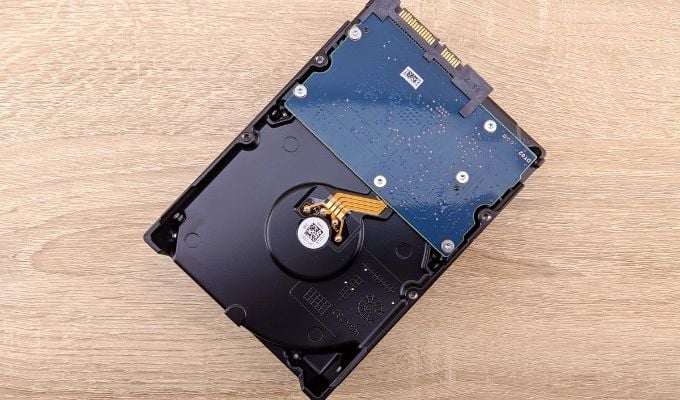
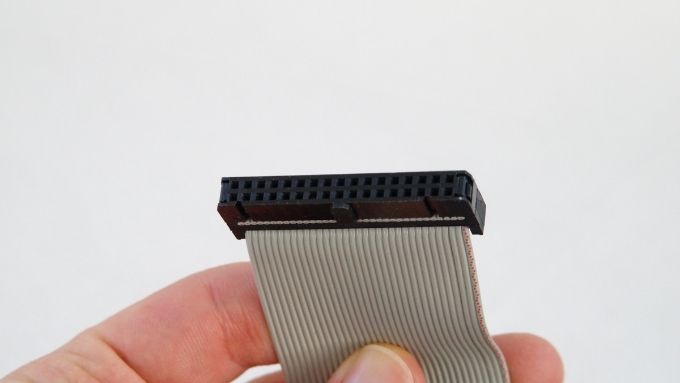
Before you do anything, you need to identify the type of hard drive to which you have access. Odds are the drive will be one of two types. Older drives might use the IDE (Integrated Drive Electronics) PATA (Parallel AT Attachment) standard with a connector that looks like this:
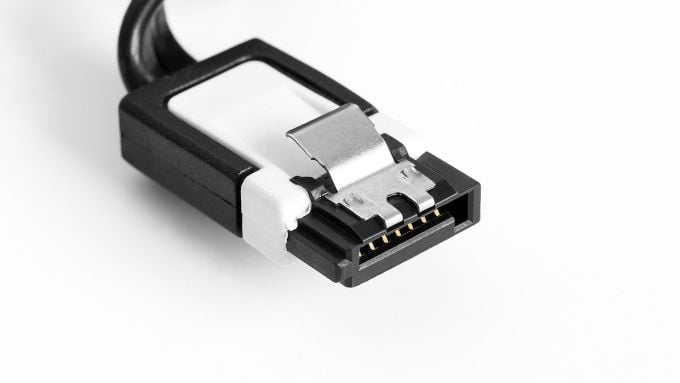
More modern drives are likely to have a SATA (Serial AT Attachment) connector like this:
Depending on the type of computer you have, you may need both data and power cable converters for these drive types so that you computer can talk to them.
You may also have either a 3.5” or 2.5” drive. The smaller 2.5” drives don’t require special connectors if they are SATA, but if you have a 2.5” PATA drive you need the correct adapter, since the pinout for these drives are different to the desktop versions.
These laptop 2.5” PATA drives use a special 44-pin connector that’s physically smaller than the desktop version, so keep that in mind when looking for hardware to connect it to your system.
Connect the Drive Internally
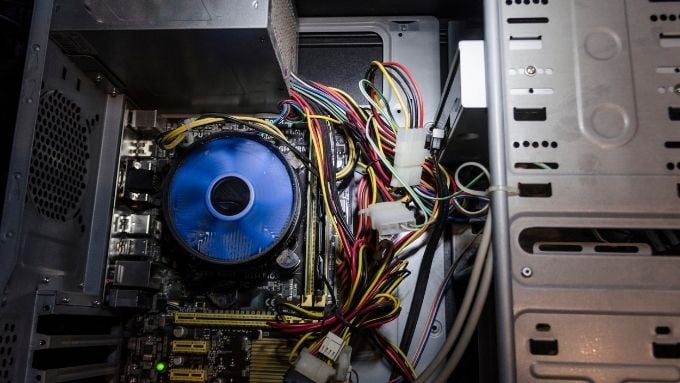
If you have a desktop computer, the most straightforward way to access files on an old hard drive with your new Windows 10 computer is to install it as an additional drive. You don’t need to do this permanently, just slide off the side panel of your desktop machine and connect it using any free power and data cables available. Just install the drive while your computer is off!
If you have a computer without any IDE PATA connectors for such a drive, you’ll need to purchase a