On Windows 10 PCs that use an Nvidia graphics card, you would use Nvidia Control Panel app to change your graphics card’s various options. If you find the Nvidia Control Panel app is missing on your PC, chances are there’s an issue with your graphics card drivers or an option in this app.
In most cases, you can bring back the missing Nvidia Control Panel to your Windows 10 PC by following the standard fixes below.
**Unhide Nvidia Control Panel**
If Nvidia Control Panel is missing from your context menu or notification tray, but the app is available in the Start menu, you might have disabled certain options in the app.
Simply tweak those options, and the app will be back in both your context menu and notification tray.
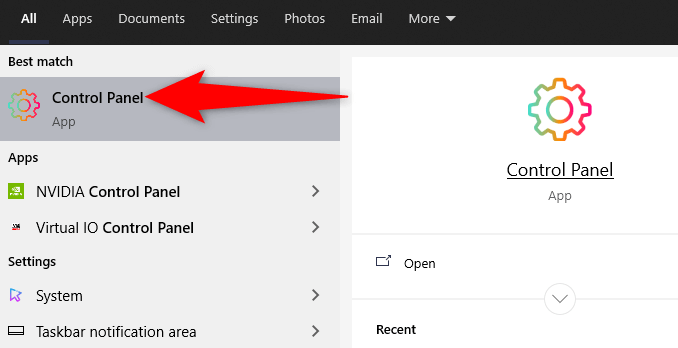
- * Launch Windows 10’s Control Panel by opening the Start menu, searching for Control Panel, and selecting Control Panel in the search results.
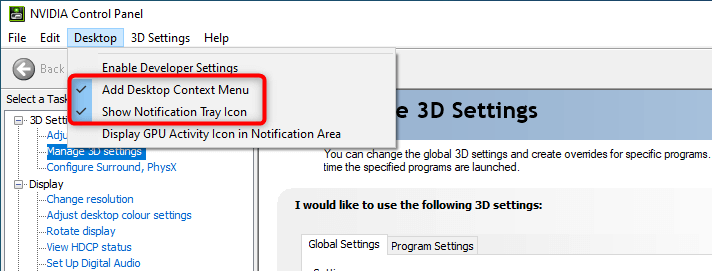
- Select the **View by** option and choose **Large icons** in the Control Panel. * Find and select **Nvidia Control Panel** in the list. * In the Nvidia Control Panel, select the **Desktop **option and enable both **Add Desktop Context Menu** and **Show Notification Tray Icon** options.
- Exit Nvidia Control Panel.
Access your desktop and right-click anywhere blank to find the Nvidia Control Panel option. The app has now also been added to the notification tray.
Restart Nvidia Services
One of the reasons the Nvidia Control Panel may be missing is that the required Nvidia services aren’t running on your PC. To fix this, find these Nvidia services and then restart them.
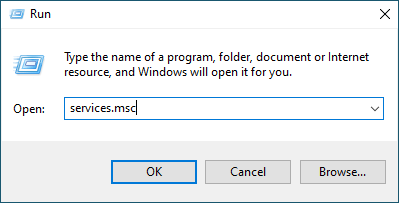
- Open the **Run **box by pressing **Windows **+ R keys at the same time.
- Type the following command in the Run box and press Enter:
services.msc
- Find all the services that mention **Nvidia **on the Services window.
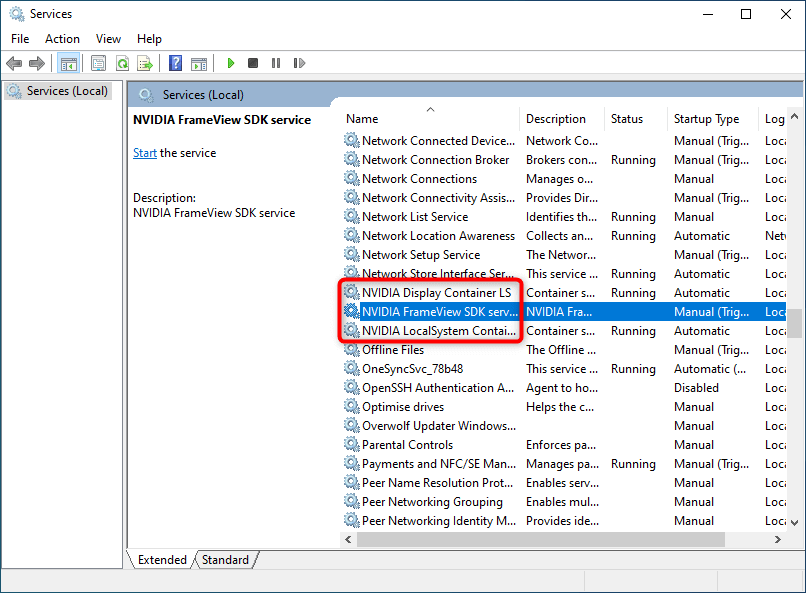
- Right-click one of these Nvidia services and select **Restart **from the menu. Repeat this process for each Nvidia service.

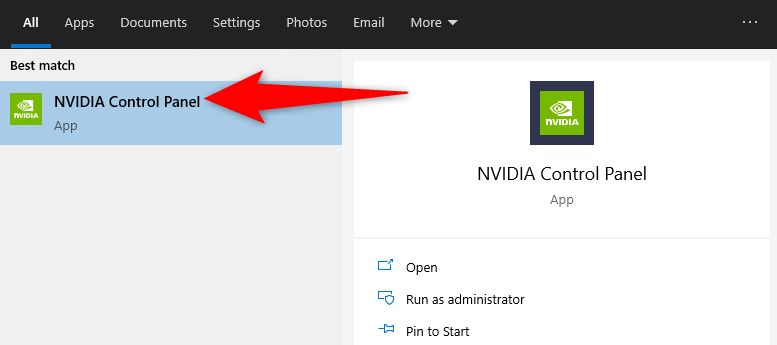
- Close the Services window. * Open the **Start **menu and search for **Nvidia Control Panel**. You should now find the app in the search results.
**Update the Nvidia Graphics Card Driver**
When you install the driver for your Nvidia graphics card, Nvidia Control Panel also gets installed. So if there’s an issue with your graphics card driver, that may be the reason you don’t have the control panel on your PC.
In this case, update your graphics card driver to reinstall Nvidia Control Panel. There are two ways you can update your driver.
Automatically Update the Driver
The easiest way to update your Nvidia graphics card driver is to use Device Manager. This utility automatically finds the required driver and installs it for you.
To use this method:
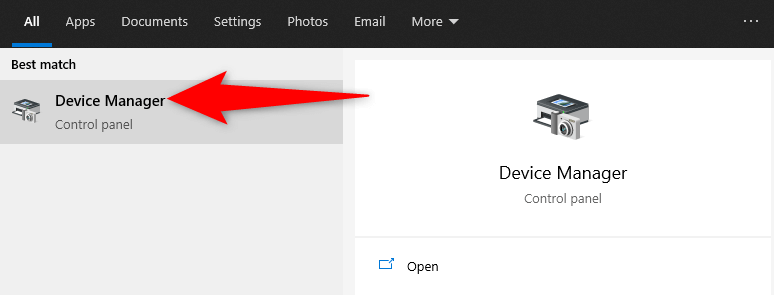
- Open the **Start **menu, search for Device Manager, and select that utility in the search results.
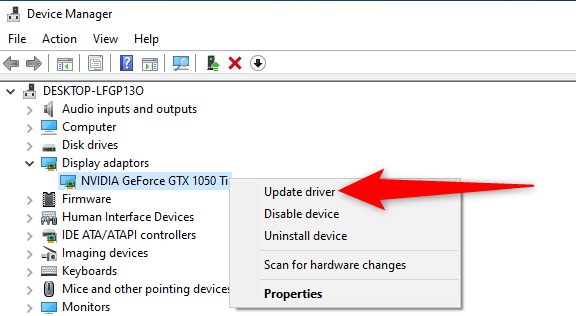
- Find your graphics card under the **Display adaptors** menu on the Device Manager window. * Right-click your graphics card and select **Update driver** from the menu.
- Choose **Search automatically for drivers** on the following window.

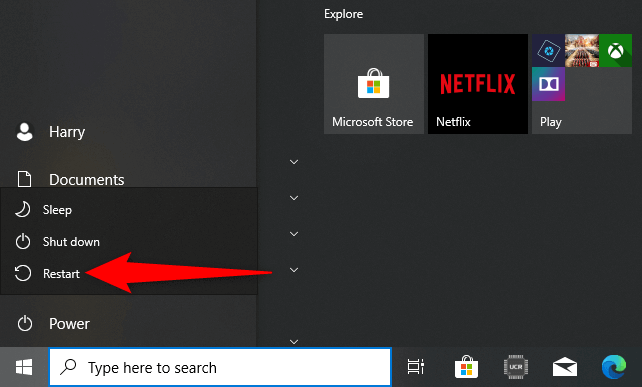
- Wait for the Device Manager to find and install the latest driver for your graphics card on your PC. * Restart your PC when the driver is installed. Do this by accessing the **Start **menu, selecting the **Power **option, and choosing **Restart**.
**Manually Update the Driver**
Sometimes, the automatic driver update method may not work for you, or you prefer a manual method. Then, use Nvidia’s website to download and install the driver for your graphics card manually.
Step 1: Find the Nvidia Graphics Card Model
First, find your graphics card’s model number. Then, use this model number on the Nvidia site to find the correct driver for your model.
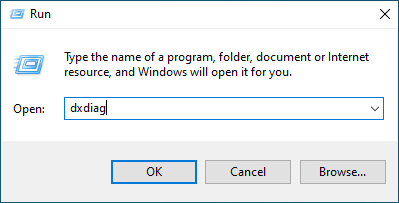
- Press the **Windows **+ R keys simultaneously to open the **Run **box.
- Type the following in the Run box and press Enter:
dxdiag
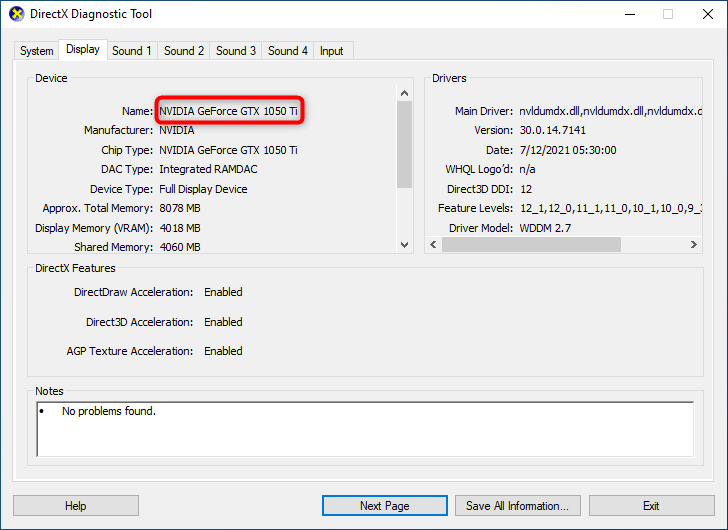
- Select the **Display **tab on the** DirectX Diagnostic Tool** window. * You’ll see your graphics card’s model number next to the **Name **field.
Step 2: Download the Nvidia Graphics Card Driver
Make sure you have an active and stable internet connection before you begin the driver download process.
- Launch a web browser on your PC and head over to the Nvidia download site.
- Use the dropdown menus on the site to enter your graphics card’s specific model number. Then, select Search.

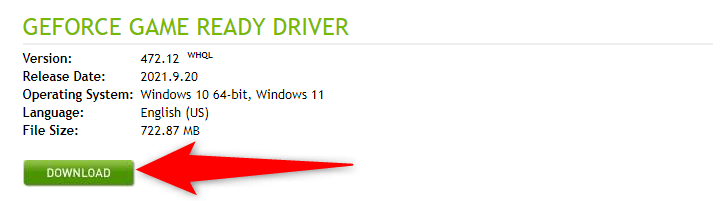
- Select your driver in the list and then select **Download **on the following page.
- Double-click the downloaded driver file to begin installing the driver on your PC. * When you’ve installed the driver, restart your PC to bring changes into effect.
Nvidia Control Panel should now be available in both your Start menu as well as your context menu.
Download Nvidia Control Panel
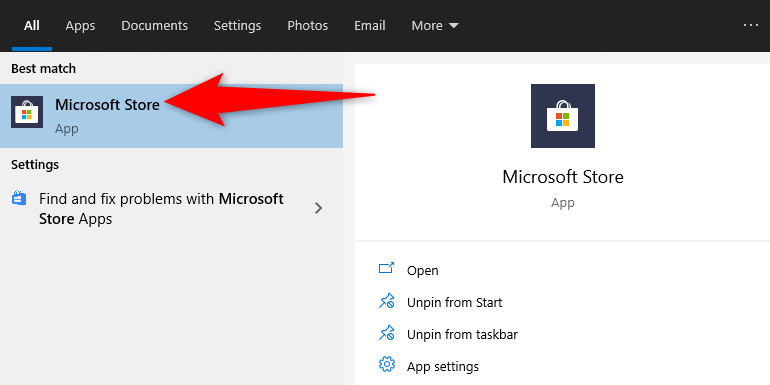
If you still can’t find the Nvidia Control Panel app on your PC, you can download the app from the Microsoft Store. Like other apps, Microsoft Store hosts this Nvidia app as well.
- Access the **Start **menu, search for Microsoft Store, and select that option in the search results.
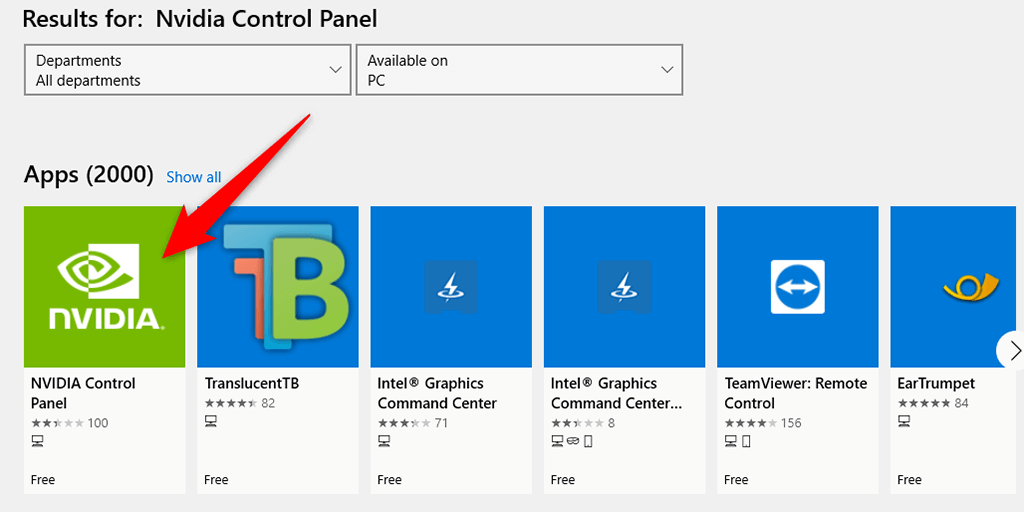
- Select the **Search **option at the top-right corner in Microsoft Store. Then, type **Nvidia Control Panel **and press **Enter**.
- Choose** Nvidia Control Panel** from the **Apps **section on the search results page.
- Select the **Get **button on the Nvidia Control Panel page to download the panel to your PC.
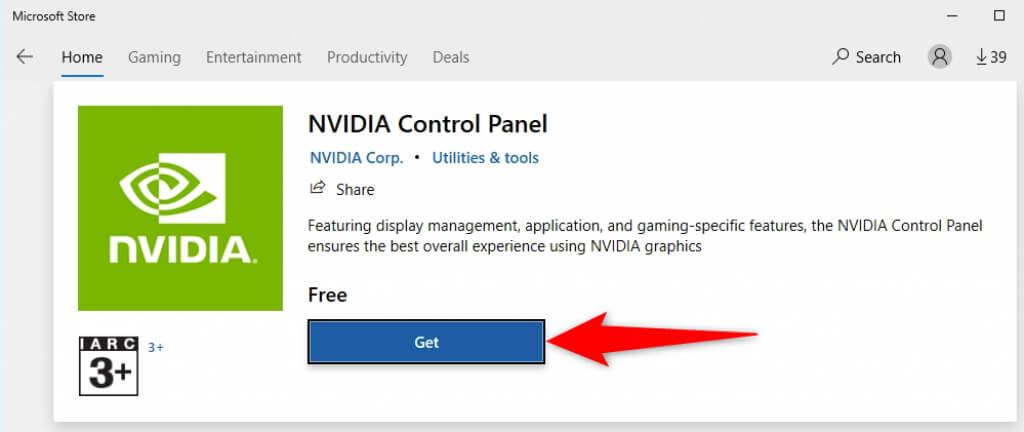
- You’ll now find the newly installed app in your **Start **menu.
Nvidia Control Panel is an essential utility to have if you need to tweak your graphics card’s settings. In the absence of this app, it becomes difficult to change the display options.
Using the methods above, you should hopefully be able to bring back the missing Nvidia Control Panel on your Windows 10 PC.