Before Microsoft removed the HomeGroup feature on Windows 10, you could easily share resources across a small network with others in your homegroup.
Today, you’ll need to use different methods to share folders or files and printers, such as using OneDrive, Share and Nearby sharing.
If you’re having trouble trying to access or see shared folders on your PC, try some of the fixes in this guide.
**How to Fix Windows 10 Cannot Access Shared Folder**
Before trying the fixes below to troubleshoot issues with seeing or accessing shared folders on Windows 10, make sure the devices are on the same network.
Also, check whether you logged in with the same account you entered when you shared the folder with different users.
Update Windows 10
To make sure folder sharing is working properly, update Windows 10.
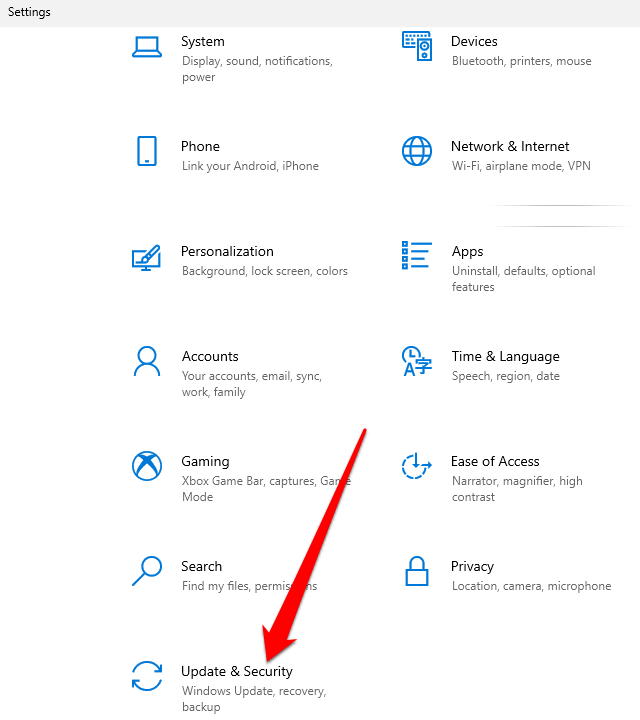
- * Select Start > Settings > Update & Security.
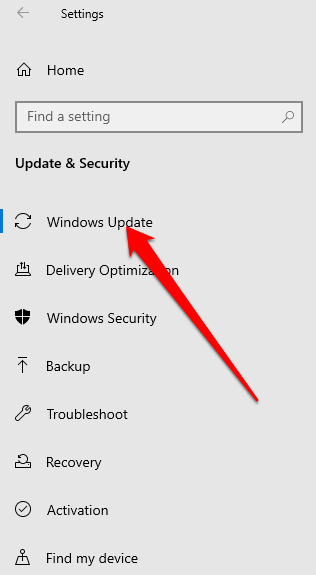
- Next, select **Windows Update** and install the pending updates.
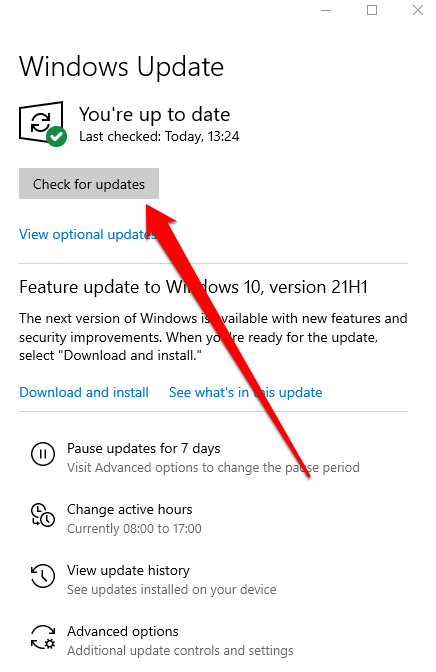
- You can also select **Check for Windows Updates** to manage your options and see available updates.
**Set Your WiFi Network to Private**
You can set a WiFi network to private or public when you first connect to it.
The private network option is suitable for networks you trust like your home or workplace network. When you set your WiFi network to private, other devices can discover your PC on the network and you can use it to share files or printers. This isn’t available on a public network.
Note: To set your WiFi network to Private, your PC should be running Windows 10 version 1709 or later. See our guide on how to tell which version of Windows you have installed.
- Select the WiFi network icon on the right side of the taskbar.
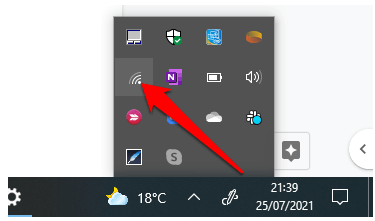
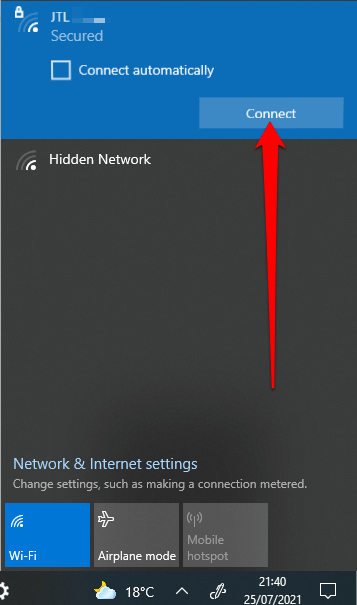
- Next, select the **network** you want to connect to and then select the **Connect** option.
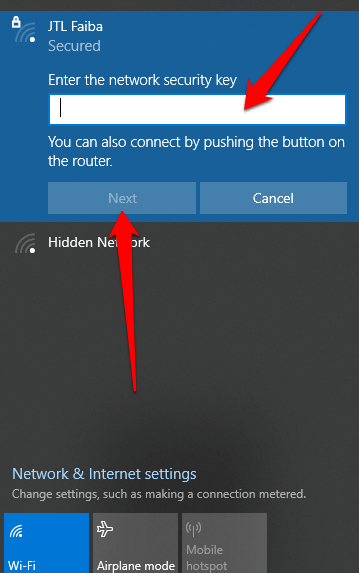
- Enter the **network password** and select **Next**.
- If you’re asked whether you want to set your PC to be discoverable to other devices on the same network, select **Yes** next to **Private****network**.

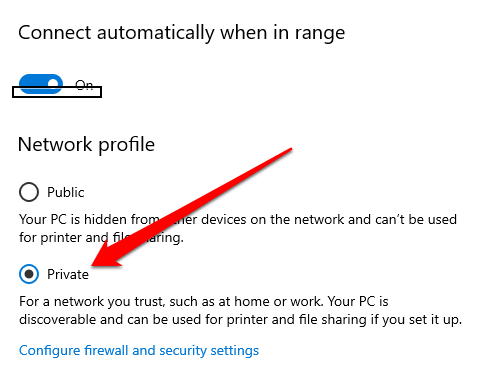
- If your WiFi network is set to Public, you can change it to Private. Select the **WiFi network** icon and then select **Properties** under the name of the network you’re connected to.

- Select **Private** under **Network Profile**.
With the network set to Private, check whether you’re now able to see or access the shared folders on your PC.
Enable Network Discovery and Disable Password Protected Sharing
If Network Discovery is disabled on your PC, you may not be able to see or access shared folders in Windows 10. To resolve the issue, turn on Network Discovery and disable password-protected sharing.
Network Discovery is a setting in Windows 10 that affects whether your PC can see and connect with other devices on the network and whether other devices can see and access your PC. The setting is enabled when you turn on network sharing, but if it’s not working you can enable it manually.
However, it’s not recommended to enable Network Discovery when connected to a public network, for security reasons.
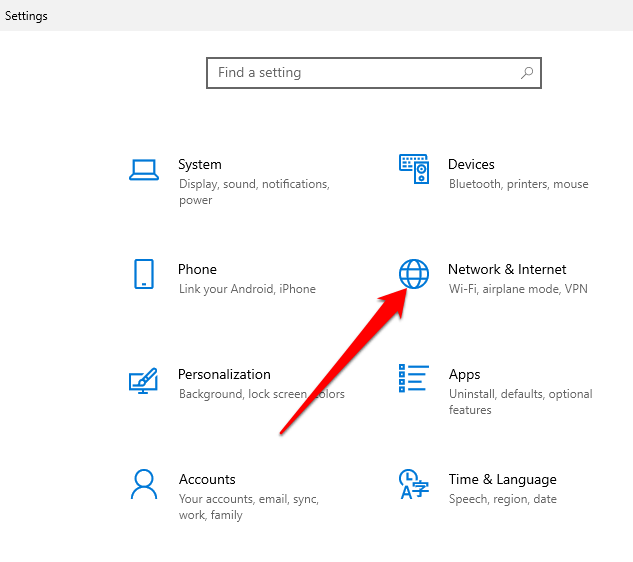
- Select Start > Settings > Network & Internet.
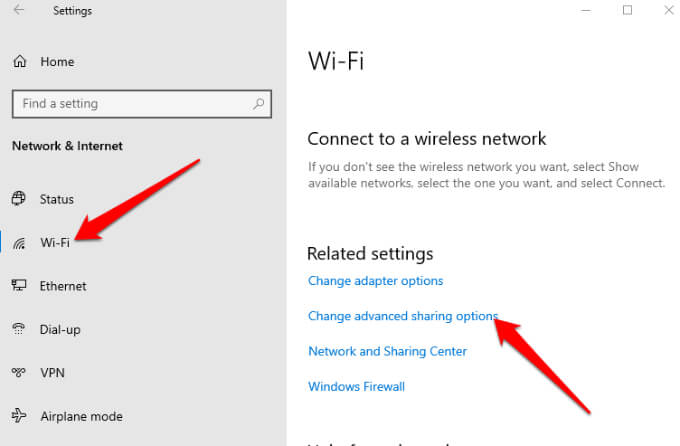
- Select **WiFi **> **Change Advanced****Sharing options** under **Related Settings**.
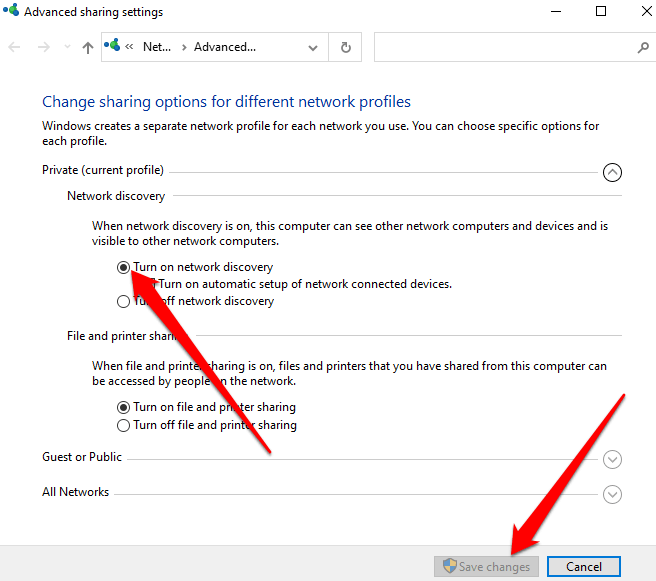
- Select **Turn on network discovery** under **Private** to enable network discovery and then select **Save Changes**.
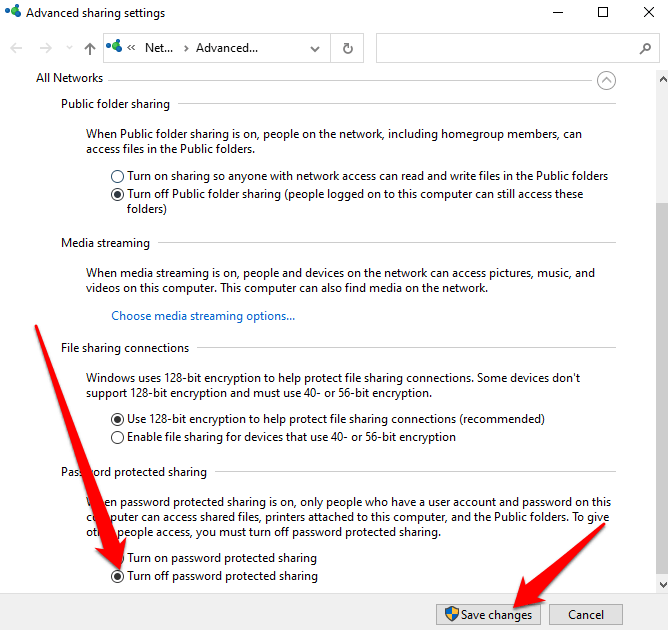
- Next, select **Turn off password protected sharing** under **All Networks** > **Password Sharing**. Select **Save Changes** and then check if you can see or access the shared folders on your PC.
**Make Sharing Services Start Automatically**
Your PC’s networking and sharing services could also affect how you view or access shared folders.
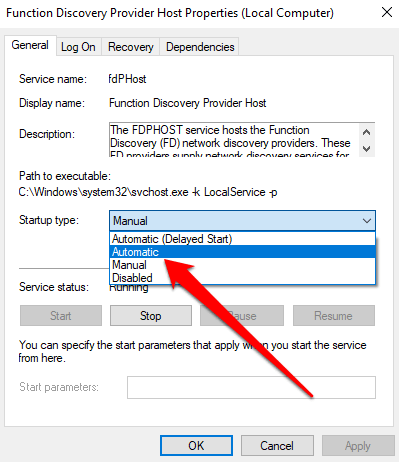
Such services include SSDP Discovery, Function Discovery Provider Host, UPnP Device Host, and Function Discovery Resource Publication. Make sure these services start automatically and are currently running on your PC.
- Select Windows logo key + R to open the Run dialog box.
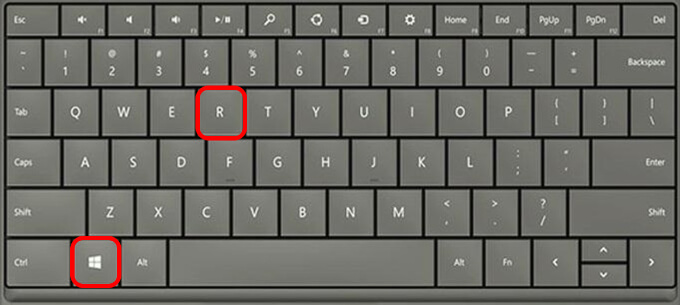
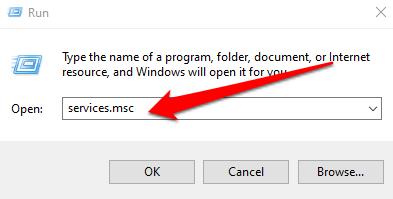
- Type **services.msc** in the Run dialog box and then select **OK** or press **Enter**.
- Right-click each of these services, select **Properties** and select **Start**:

- Next, select **Automatic** under **Startup type** and then select **OK**.
**Allow File and Printer Sharing in Windows Defender Firewall**
If you still can’t see or access shared folders on your PC and you use Windows Defender Firewall, allow File and Printer Sharing in the firewall app.
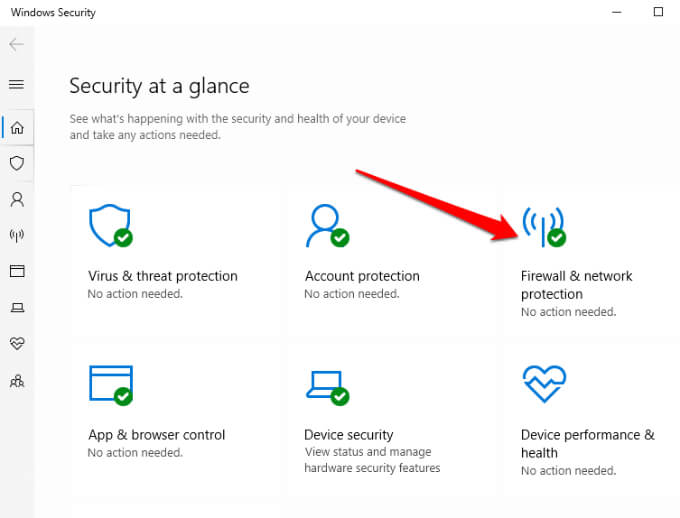
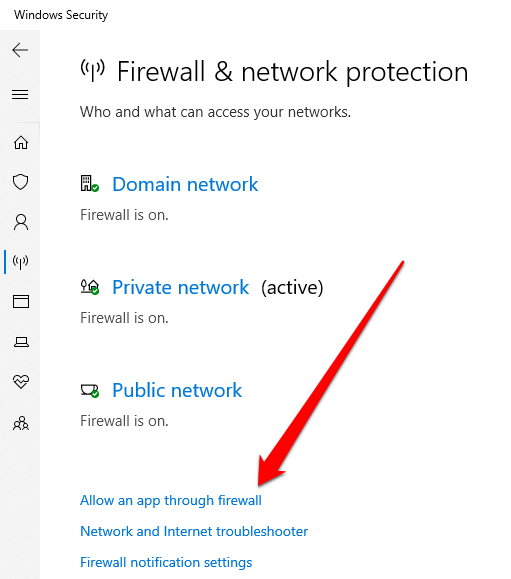
- Go to **Windows Defender** and open the **Firewall****and network protection**.
- Select **Allow an app through the firewall**.
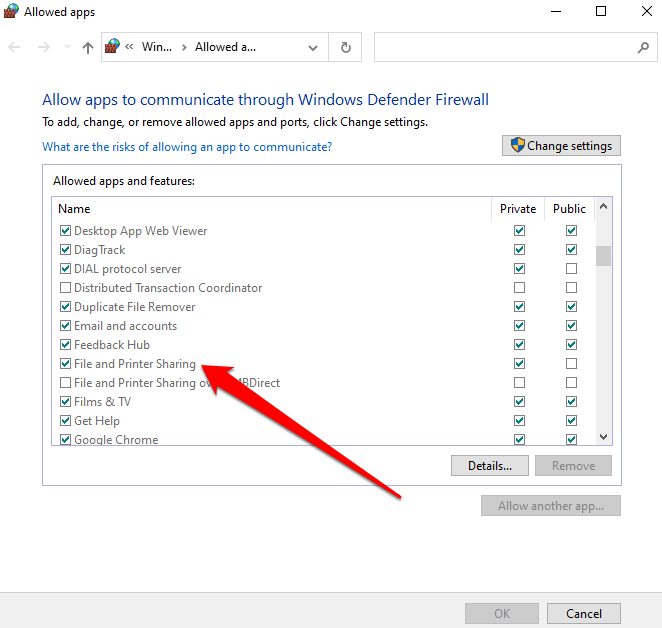
- Allow **File and Printer sharing** and check whether you can see or access shared folders.
**Check Your Windows Credentials**
Still can’t see or access shared folders? Try checking the Windows credentials in the computer you’re trying to access the folders from.
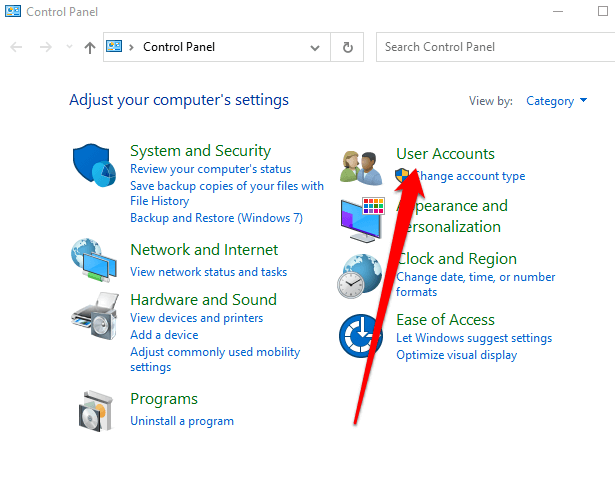
- Open Control Panel > User Accounts.
- Select **Credential Manager**.
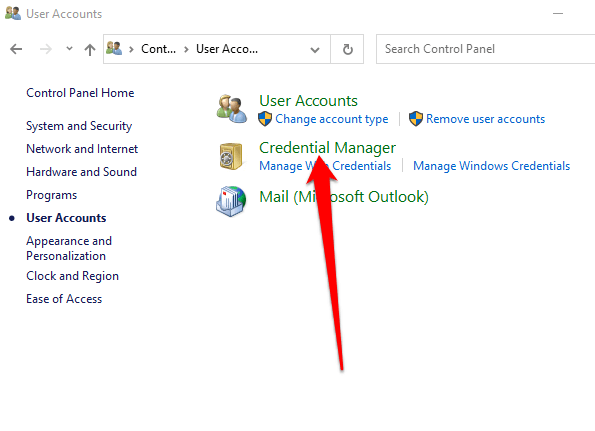
- Next, select **Windows Credentials**.

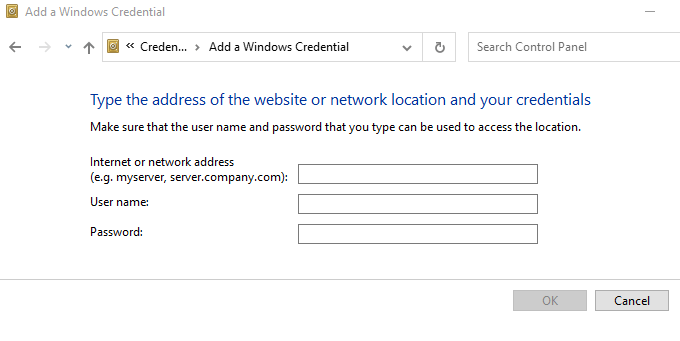
- Select **Add a Windows credential**.
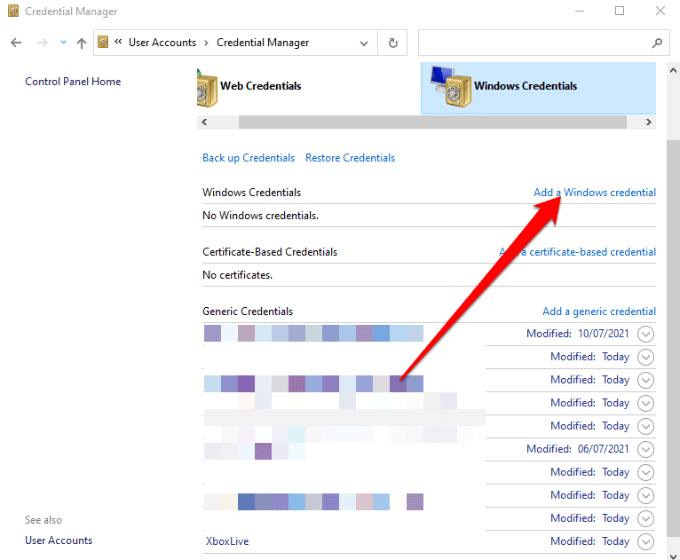
- Add the **IP address** of the computer that hosts the file and enter the **admin****username and password** of the computer. Select **OK** to save the credentials and check whether you can see or access the shared folders on your PC.
Note: You can enter the network address in File Explorer to see or access the shared folders.
Use the Shared Folders Troubleshooter
The Shared Folders troubleshooter can help identify and resolve any issues that may be preventing you from being able to see or access shared folders on your PC.
- Select Start > Settings > Update & Security.
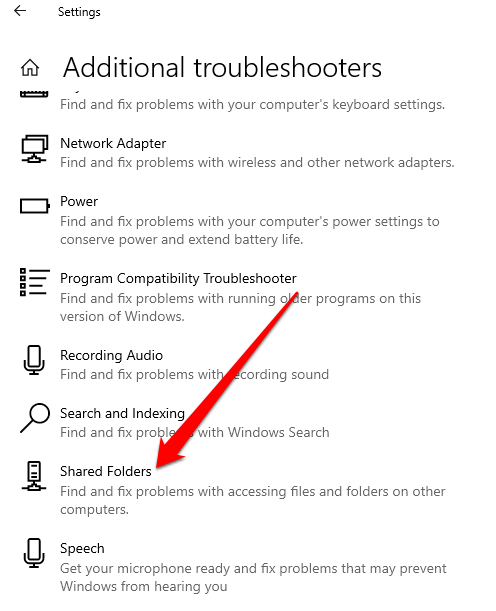
- Next, select **Troubleshoot** > **Additional Troubleshooters**.

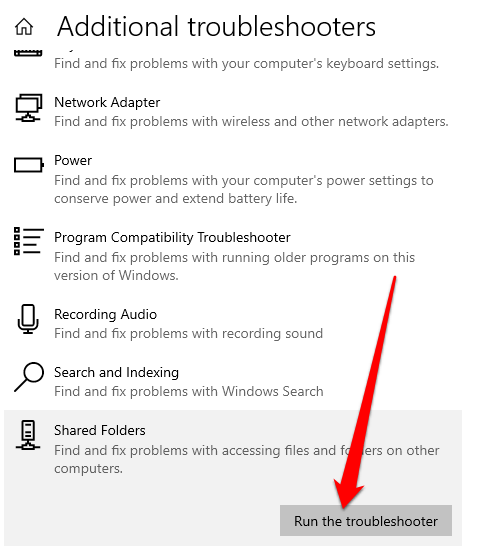
- Select **Shared Folders** under **Find and fix other problems**.
- Select **Run the Troubleshooter**, enter the network location you want to access** **and follow the on-screen instructions to complete the process. Once it’s done, restart your PC and then check if you can see or access the shared folders.
**Use Command Prompt to Access the Shared Folder **
If you can’t see or access the shared folder through File Explorer, you can do that via Command Prompt.
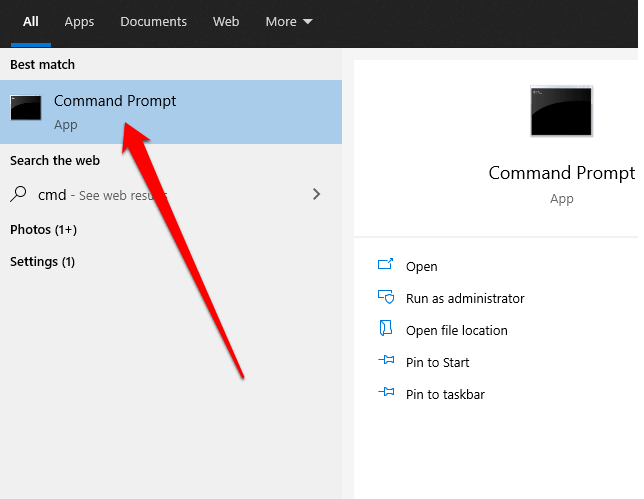
- Type CMD in the search box and select Command Prompt from the search results.
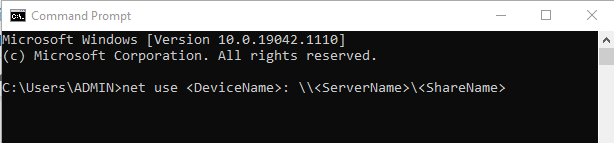
- Type this command and press Enter: **net use : \\\**
Next, enable the SMB 1.0 support feature. The SMB (Server Message Block) protocol is used to share files, printer services and communication between PCs on a network.
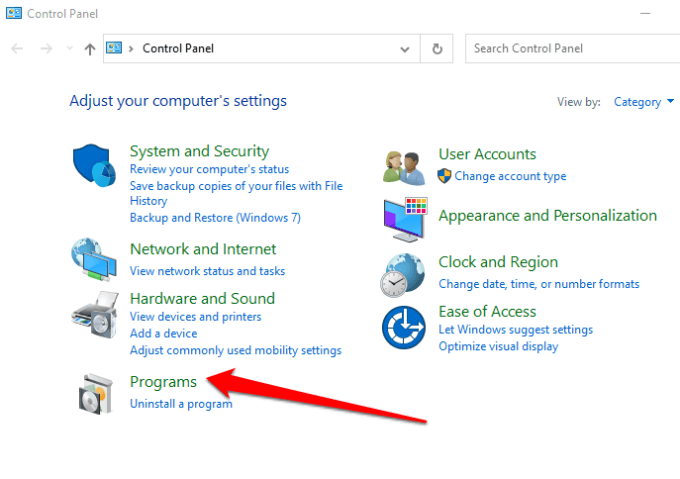
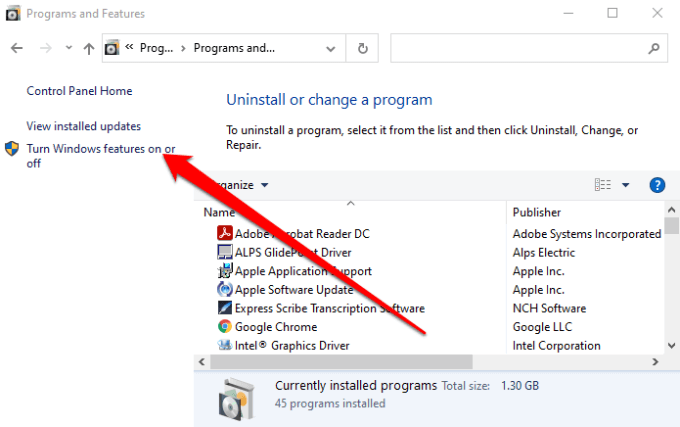
- Open Control Panel > Programs.
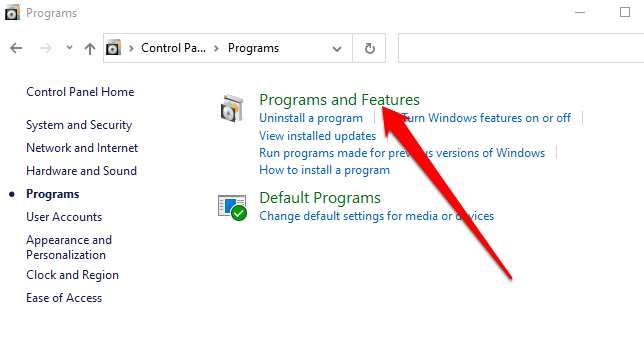
- Select **Programs and Features**.
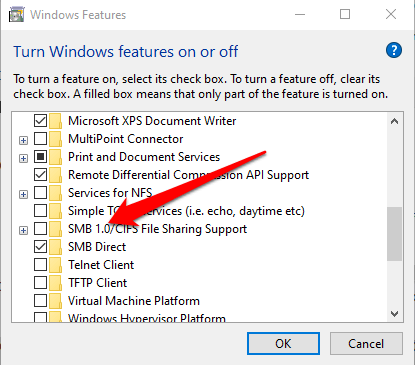
- Next, select **Turn Windows features on or off** > **SMB 1.0/CIFS File Sharing Support**.
- Check the **SMB 1.0/CIFS Client** box and press **Enter**.
**See and Access Shared Folders on Your PC**
There’s so much you can do with a local area network in terms of sharing files and folders across the devices in your home or workplace. While it may look easy in principle, it can be a pain trying to get everything running properly.
With the solutions in this guide, you should be able to see and access your shared folders once again from any PC on your network.
We have more guides on how to create and manage shared folders including how to share folders between host and guest OS in VirtualBox and how to connect to shared folders on Windows 10 from Mac OS X.
Leave a comment and let us know which solution worked for you, if any. If you have a solution not mentioned here, feel free to add a comment and let us know.