When you want to learn how to do something new or need to fix something, what do you do? A lot of people use YouTube to help them figure out how to do things. Whether you are creating animated video explainers, interviews or educational resources, a video tutorial is the most effective way to explain how to use a product, complete a task, solve a problem, or accomplish a procedure.
So how can you create an easy-to-follow and clear demonstration to help your target market understand how to use your product, solve a problem, or make their life easier? Below are seven great tools for creating your own video tutorials.
Screen Capture Software
Screen capture software is a tool that will record your computer screen. Use it to create a video tutorial walk-through of how a product or process works. Capture your entire screen or only relevant portions of it.
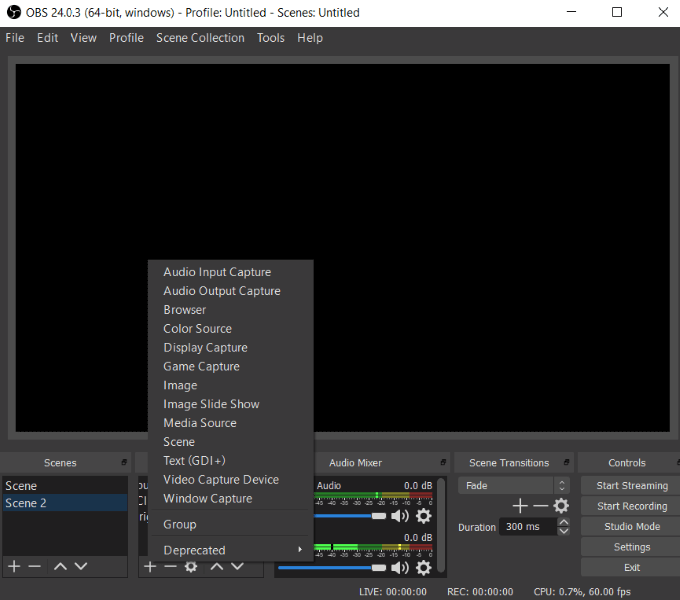
Open Broadcaster Software (OBS)
OBS is an open-source and free video recording software program that runs on Mac, Windows, and Linux.
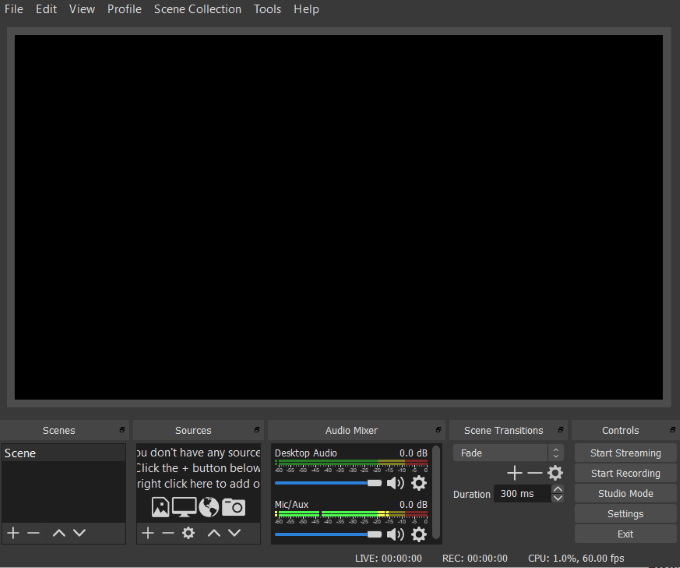
To start recording your desktop : * Click the **+ **under Sources and select Display Capture.
- Change the name of the source to Desktop and click OK.
OBS features include:
Watch a full video tutorial to help you set up and use OBS.
**Apowersoft Online Screen Recorder**
Apowersoft is a free web-based screen capture software program. Capture whatever is displayed on your computer without having to download anything.
Key features include:
- Share directly to Vimeo, Google Drive, and YouTube.
- Export into AVI, MP4, or MKV.
- Share videos directly to the cloud.
- Add webcam into screen capture.
Watch a video of the user guide to get started using Apowersoft.
Screencast-O-Matic
Screencast-O-Matic is an easy-to-use screen recorder. It offers both a free and a paid version.
Features include:
- Easy-to-use.
- Record with your webcam, your screen, or a combination of both.
- Zoom in or out or write text while recording.
- Trim recordings.
- Add captions.
- Save to desktop.
- Publish to YouTube or Screencast-O-Matic.
- Upload a scripted recording and record the screen while listening to the audio.
Screencast-O-Matic offers a free version and two premium options: a Deluxe version at $1.50/month and Premier for $4/month. Paid versions offer additional features such as drawing while recording, videos more than 15 minutes, and no watermark.
Watch Screencast-O-Matic’s Training and Tutorials for detailed instructions on how to use the software.
Quality Microphone & Optimal Audio
Most screen capture software includes the ability to record audio while showing your desktop. However, some built-in computer microphones result in a muffled sound.
The quality of your audio matters and contributes to the overall professionalism of your video. If you are new to creating video tutorials, try a USB microphone. They provide good audio quality, are affordable, and don’t require any additional hardware. Plug the cable into your computer and start recording.
Using the right microphone will minimize the distractions caused by echoes and background noises.
Below are some suggestions for high-quality USB microphones:
- Rode NT USB
- Audio-Technica AT2020USB+
- Blue Yeti Nano Premium USB Microphone
All USB microphones are not the same. What works best for live streaming games might not work well for recording music or video tutorials. If you find that your audio still needs some tweaking to clean up any noise or static, you can use Audacity.
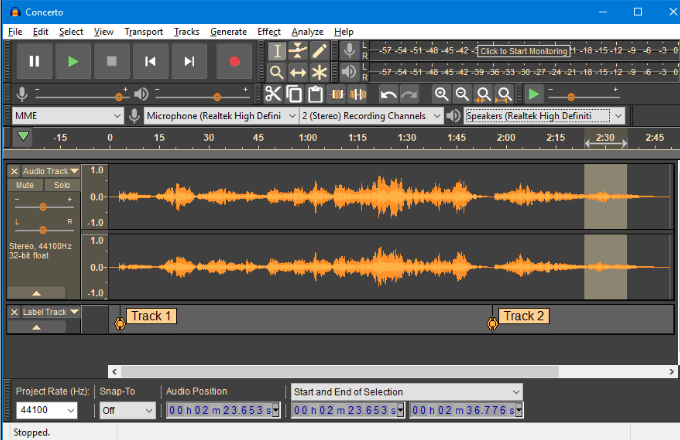
It is an open-source multi-track easy-to-use audio editor. Audacity works on many operating systems, including Mac OS X, Windows, and GNU/Linux.
Video Editing Tools
Many of the screen capture software tools provide some editing options. Others, such as Screencast-O-Matic, require the Pro version to get access to editing effects such as creating captions and drawing on the screen.
If you want to make your video tutorials more visually appealing, using a video editing tool that goes beyond what is included in some screen capture programs is the best route.
The video editors below are free to use.
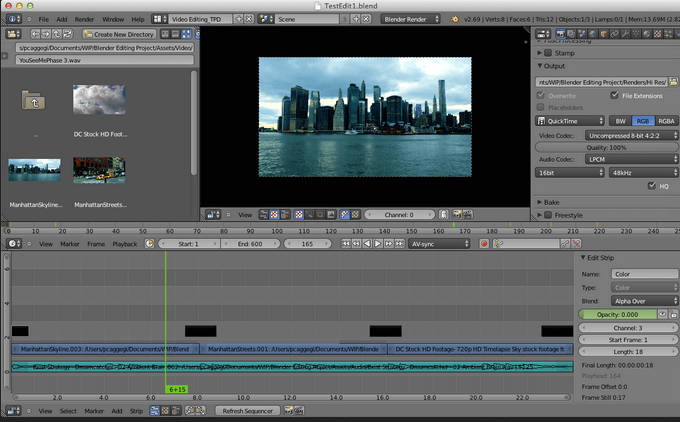
Blender
Blender is a free and open-source video editing program for Mac, Windows, and Linux. Perform basic edits such as splicing, video masking, and cuts.
**Shotcut**
Shotcut is also a free and open-source video editing program that is available on Linux, Windows, and Mac.
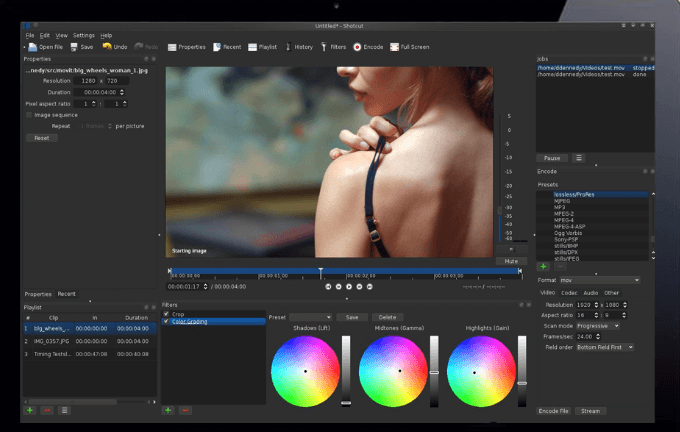
Shotcut supports a wide range of video formats and offers helpful video tutorials to help users learn the software.
Two major features that make Shotcut stand out from some of the other free video editors are its native timeline editing and support for 4K HD resolution.
VideoPad
Available only for Windows, VideoPad is simple and easy-to-use for beginners.
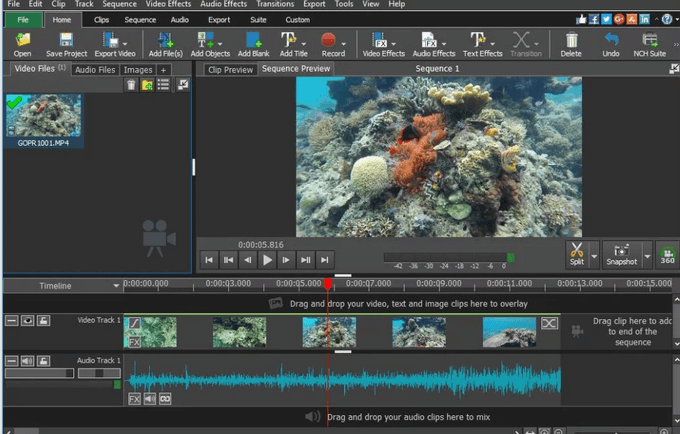
Features include:
- 3D video editing.
- Pre-made transitions to choose from.
- Camera shaking reduction.
Users can export completed videos directly to YouTube and other social media platforms. Watch a video tutorial to learn how to use VideoPad.
Camera
Capturing your screen is one way to create a video tutorial. Another way is to shoot live video. Whether you shoot a live video for part or all your video tutorial, you will need to have a good video camera. It isn’t necessary to hire a professional videographer or use expensive equipment.
You can create high-quality videos with low-cost equipment and even your smartphone, especially iPhones.
Below are some smartphone video shooting tips:
- Use the AE/AF lock to improve focus.
- Use a tripod or a selfie stick for stability.
Lighting
To make sure your videos look professional, you must have the proper lighting. It’s best to maintain control over the lighting rather than relying on the natural light that can cause shadows or change quickly.