Mapping a network drive has many benefits, especially if you want to transfer files using a network faster. If you can’t map a network drive, Windows 10 has a simple solution we’ll cover in this post.
Creating a shortcut to another folder or drive shared on the network means you are mapping its location. Moreover, you can even create a shortcut to the network drive on your desktop for easier access.

**How to Map a Network Drive in Windows 10**
Mapping a network drive in Windows 10 allows you to quickly access data stored on a different machine. A mapped drive is a quick and easy way to access a remote hard drive.
The remote hard drive can function as a local drive by assigning it a local drive letter. As such, it’s ideal for storing data that won’t fit on your computer, viewing files from a tablet, backing up content, and sharing file access with numerous people.
You can try out these methods if you can’t map a network drive in Windows 10.
Method 1: Delete Your Current Network Drive and Remap
One of the most common scenarios where users can’t map a network drive in Windows 10 is when they update from v1909 to v2004. One of the indicators of this issue is the appearance of error 0x80070043 whenever the desktop user tries to connect on a network drive.
If you are using Windows 10 V2004, try this method.
- * Click the Start button and type “Regedit” in your Windows search bar. Hover your mouse to the first result Registry Editor and right-click on it.
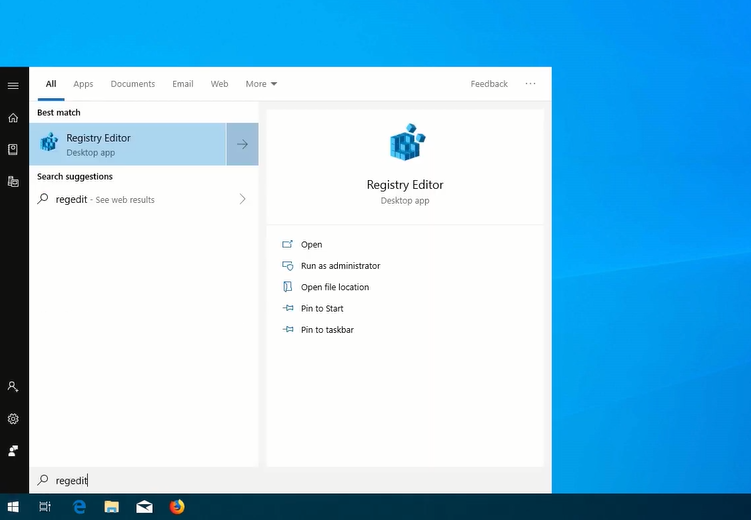
- Select** Run as Administrator **from the options. Click **Yes** to continue. * Click the **HKEY_CURRENT_USER** folder to expand it. Then, click **Network**, which should display your current network drive name (i.e., Z).
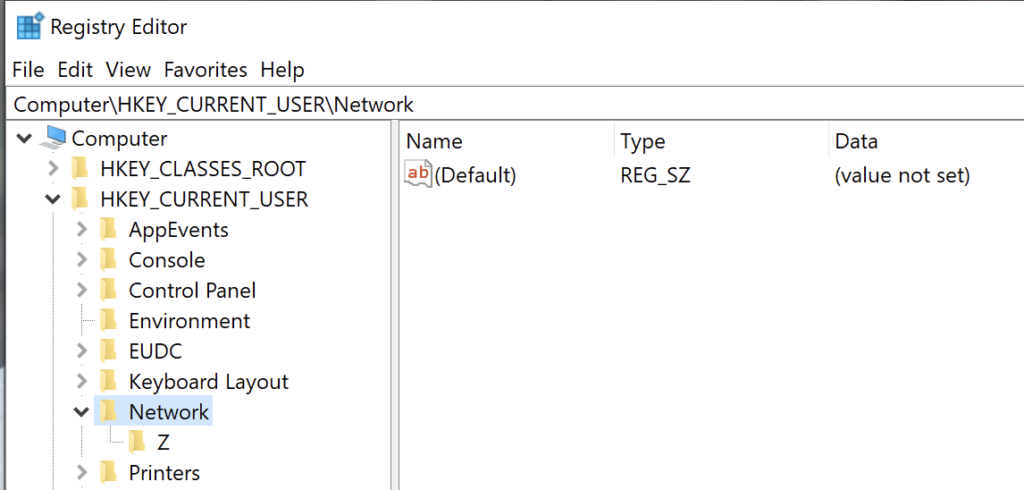
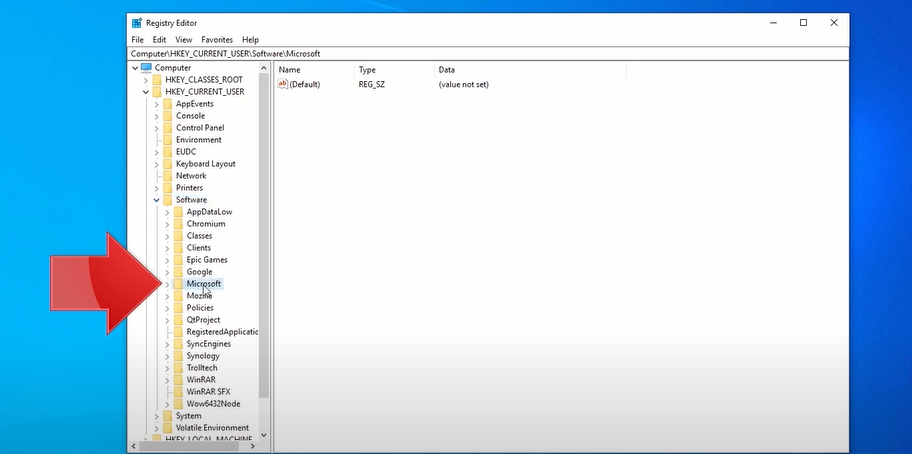
- Right-click on the network drive folder (Z in the above example) and select **Delete**. Click **Yes**. * Then, click the **HKEY_CURRENT_USER **folder again** **to expand it. Click the **Software**.** **Next, click the** Microsoft **folder to expand it.
- Scroll down until you see the** Windows** folder. Click and expand it. Then, click the **CurrentVersion **folder and expand it. Click and expand the **Explorer** folder.
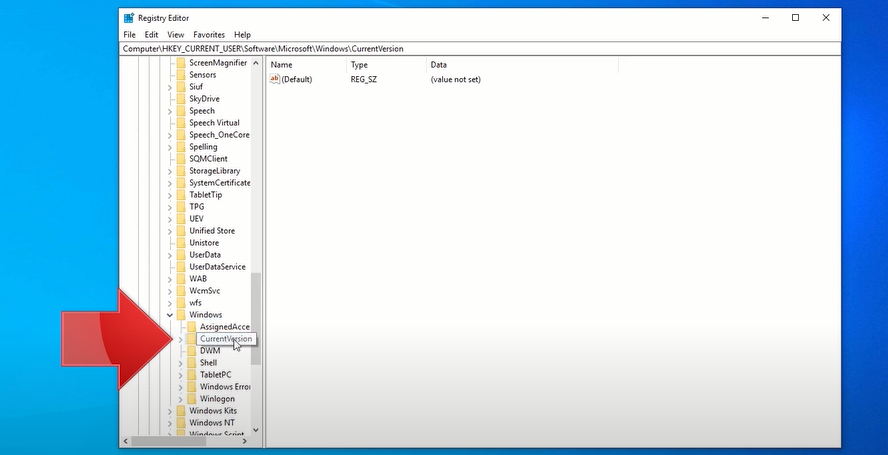
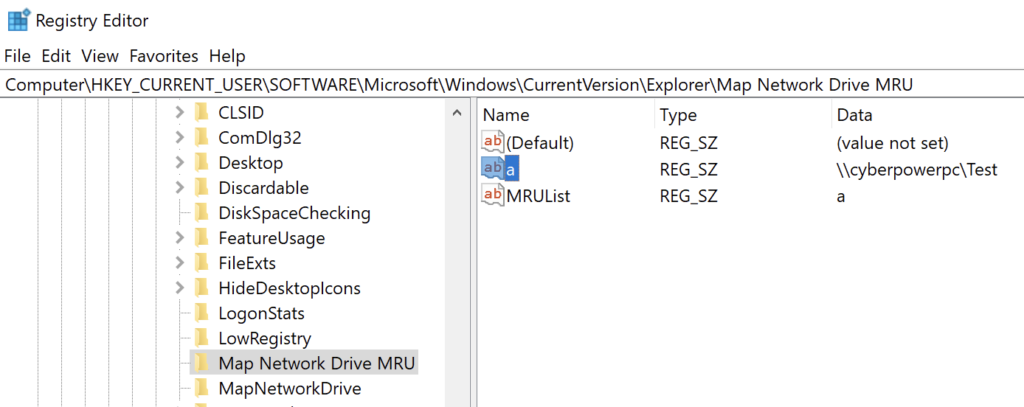
- Click and expand the** Map Network Drive MRU** folder. On the right side of the Window, right-click on the network name icon just below **(Default)**. Select **Delete** and then click **Yes**.
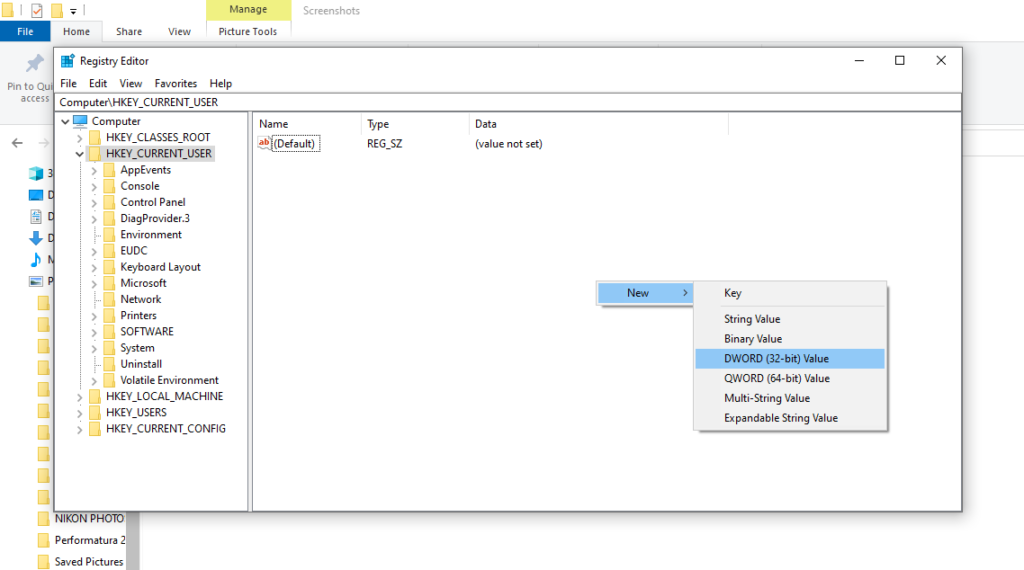
- Close and exit the Registry Editor program. * Restart your computer. * Remap your Network Drive. If you have forgotten how to do it, check out this **How to Map a Network Drive in Windows 10** article. * Next, repeat steps one to three. * Right-click on any blank space on the right half of the Registry Editor window. Hover your mouse to the **New** button and select **DWORD (32-bit Value)**.** **
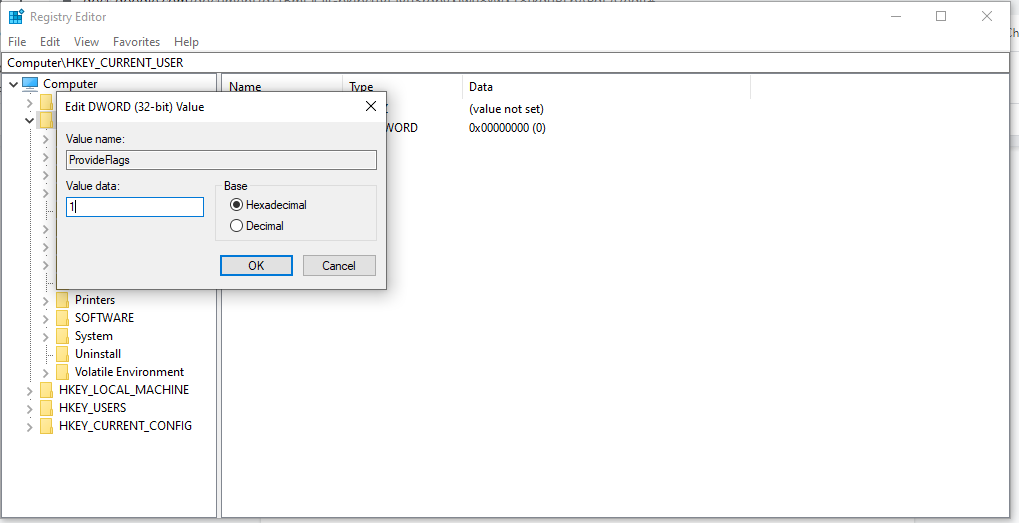
- Type **ProviderFlags** as the name of the REG_DWORD file. Right-click the **ProviderFlags **key and change the **Value data **from 0 to 1. Click OK. Close and exit the Registry Editor.
**Method 2: Update to 20H2 Version**
An incompatible Windows 10 version is another potential reason why the Network Drive map isn’t working. As you may recall, Windows already implemented the 21H1 update last May 10, 2021.
If the network drive was configured using an older version, it might cause the mapping issue. To fix this, you might have to change to a previous stable build of Windows 10, the 20H2 Version.
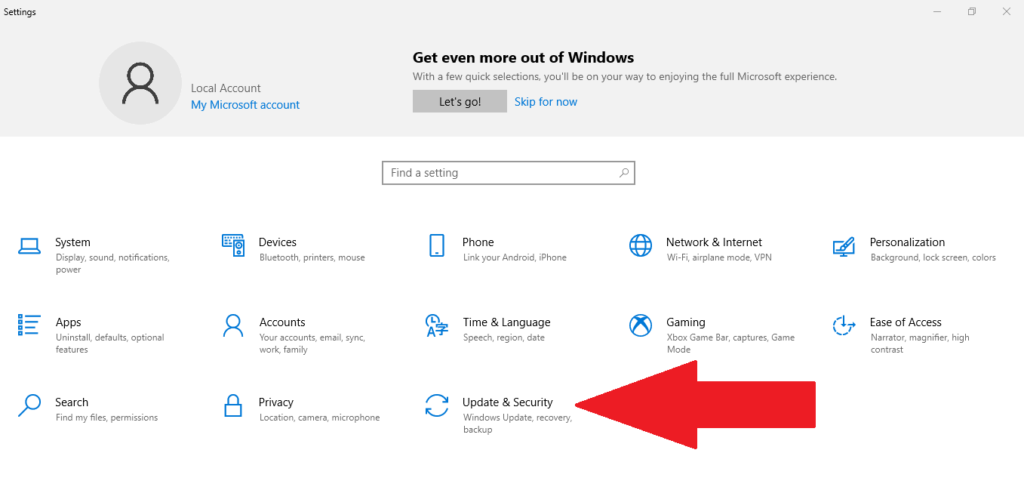
- On your Windows desktop, click the Start Button and open **Settings **(gear icon).
- Next, click Update & Security.
- Then, select Windows Update on the left side of the screen. Click the **Check for updates** button.
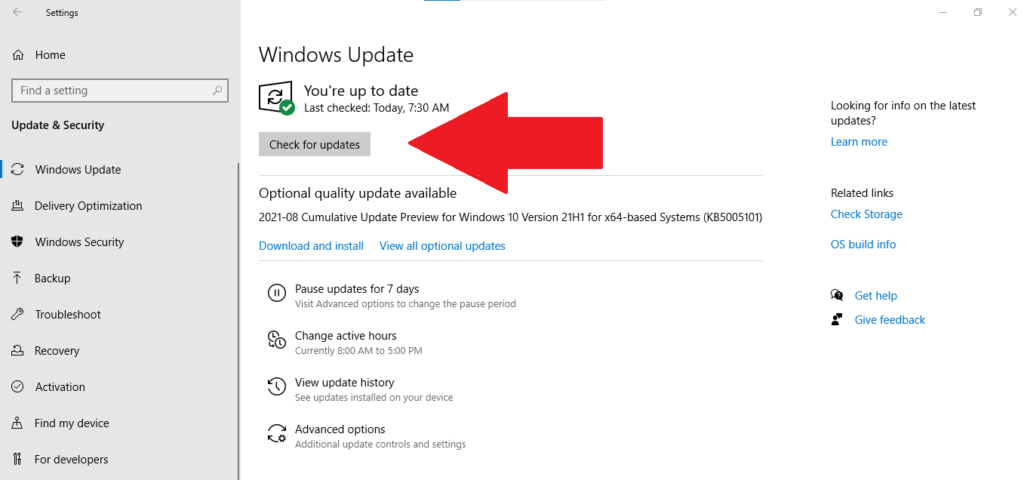
- Look under **View optional updates **before clicking on **Download and Install**. * Select the **Restart** now button.
If this method still doesn’t work, try the next repair option.
Method 3: Disable Offline Files and Re-Enter Your Credentials
Many people like to keep offline copies of the network version, but sometimes an error occurs due to syncing issues. In this case, the file is not being updated when it reconnects to the network.
We recommend disabling offline files from your system through this method:
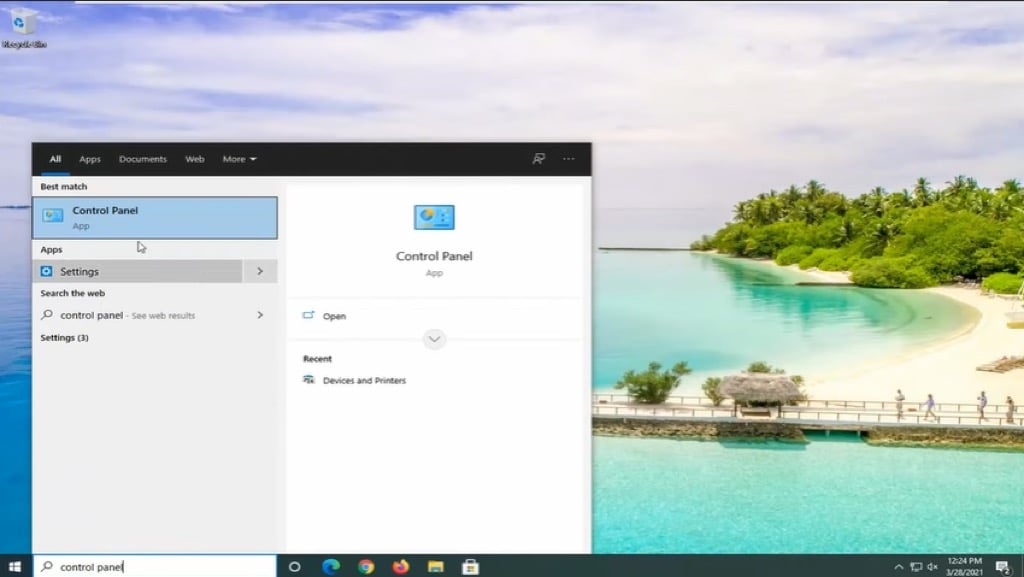
- Type “control panel” in your Windows search bar. Click on the Control Panel app.
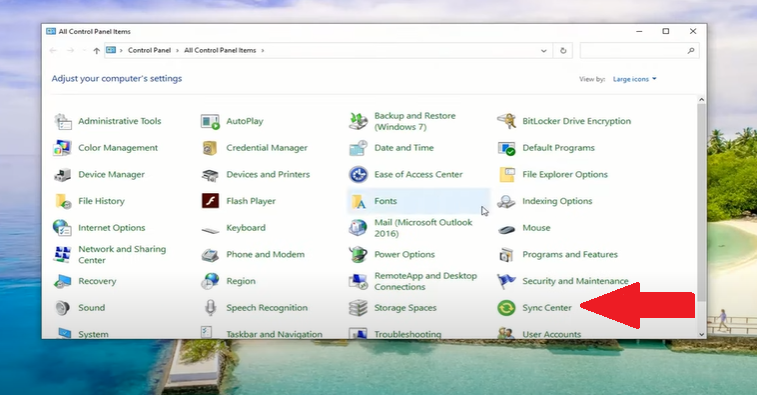
- On the Control Panel window, select the **Sync Center**. If you don’t see this icon, change the **View by **setting it on the top right to large icons.
- Select **Manage offline files** on the left side of the Window. On the newly opened Offline Files Window, check if it says **Enable offline files. **If it does, you don’t need to change anything. But, if it says **Disable offline files, **click the button.

- Close the Sync Center Window and restart your computer.
After restarting your computer, try accessing your network drive to see if it has resolved the issue. If not, proceed with the following repair suggestion.
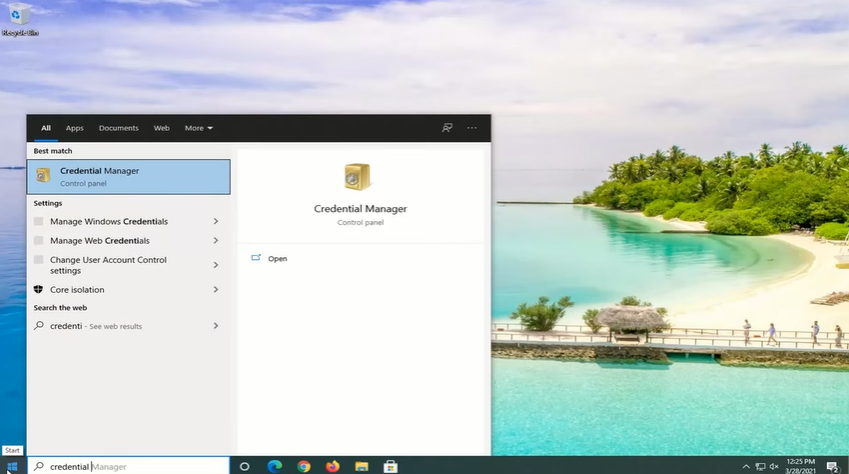
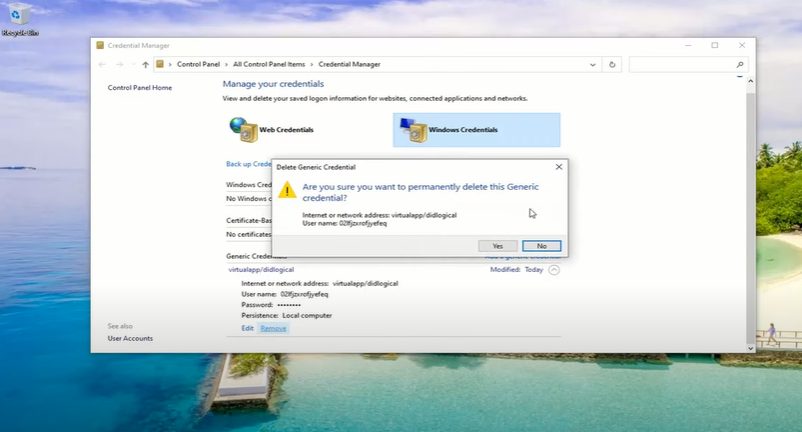
- Type “credential manager” in your Windows search bar. Click the **Credential Manager **app.
- Next, click the Windows Credentials icon and head over to the **Generic Credentials** section below. * Click the drop-down button next to **Modified: Today** and select **Remove**. Then, click on **Yes** to permanently delete the generic credential.
- Close the **Credential Manager **app and restart your computer. * Once you have rebooted, repeat steps one and two. Next, click **Add generic credential button** (the one with the blue text). * Enter the credentials you have on the network. If the network admin has changed these credentials, you’ll have to ask them for this info.
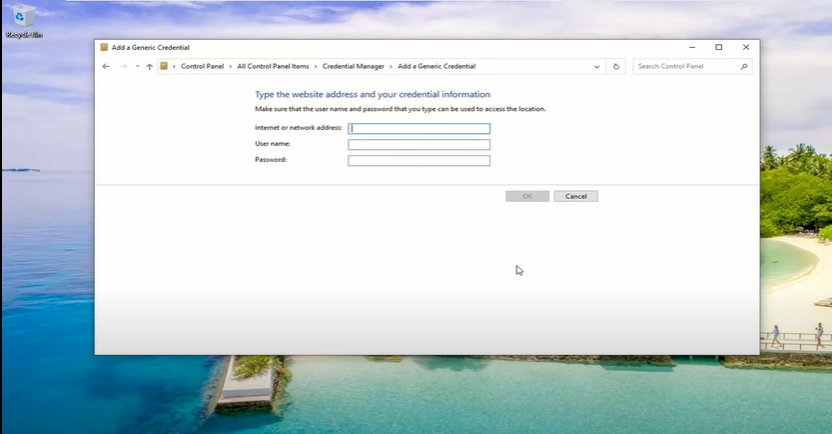
- Finally, test if you can go to the target network drive.
**Method 4: Use Local Group Policy Editor**
Another solution, if you can’t map a network drive in Windows 10, is to ask your network manager or the drive owner to edit the Local Group Policy Editor.
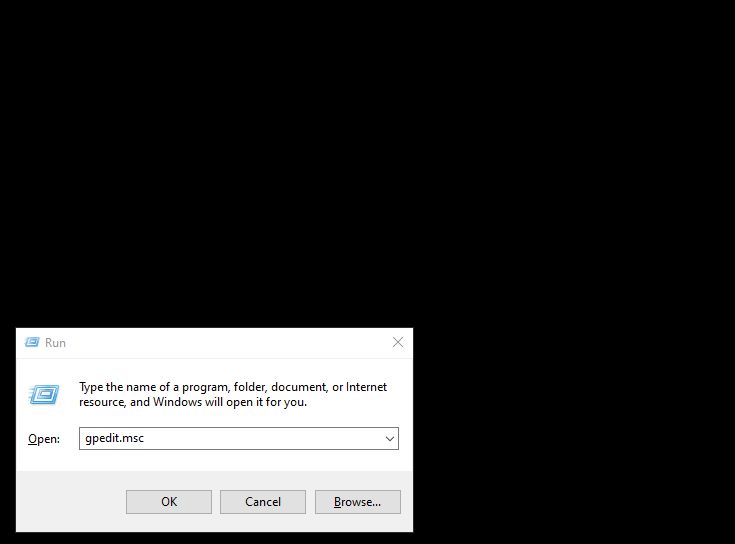
- On your keyboard, press and hold the Windows key, then press R.
- Type gpedit.msc on the Run dialog box and press Enter.
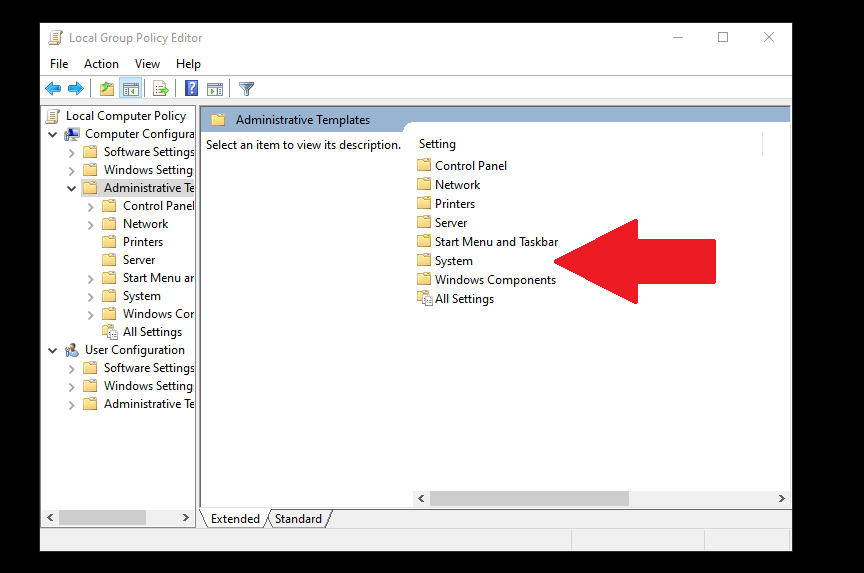
- Next, click and expand Local **Computer Policy**. Then, select **Computer Configuration**. * Click and expand** **the** Administrative Templates** folder. Head over to the right side of the Windows and double click the **System** folder from the **Setting** list.
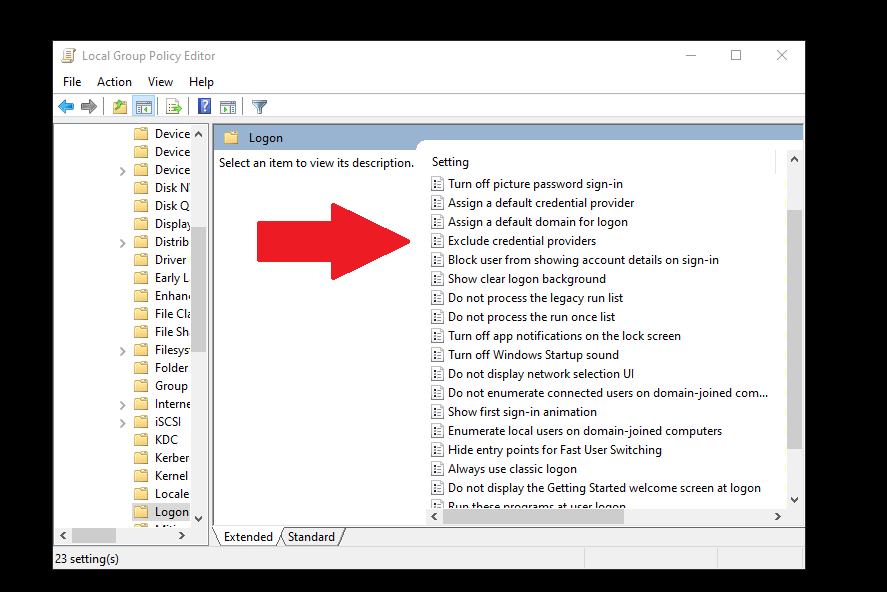
- Scroll down until you find the** Logon** folder and double-click to open it.
- Click the** Exclude credential providers. **Then, click the policy settings button on the left side of the page. Tick the **Enabled **option before clicking **Apply**. Then, select **Ok**.
- Close the program and restart your computer. Try accessing the network drive to see if these repairs worked.
**Fixed Can’t Map a Network Drive in Windows 10 Issue**
Mapping a network drive in Windows 10 is normally a simple process without a lot of hassle. However, if you’re having issues, hopefully one of the methods above fixed your issue. If you used a different solution, let us know in the comments.